

Candy model of DNA ladder
Reply

1.What problem is your technology trying to solve? In other words, what is it’s purpose?
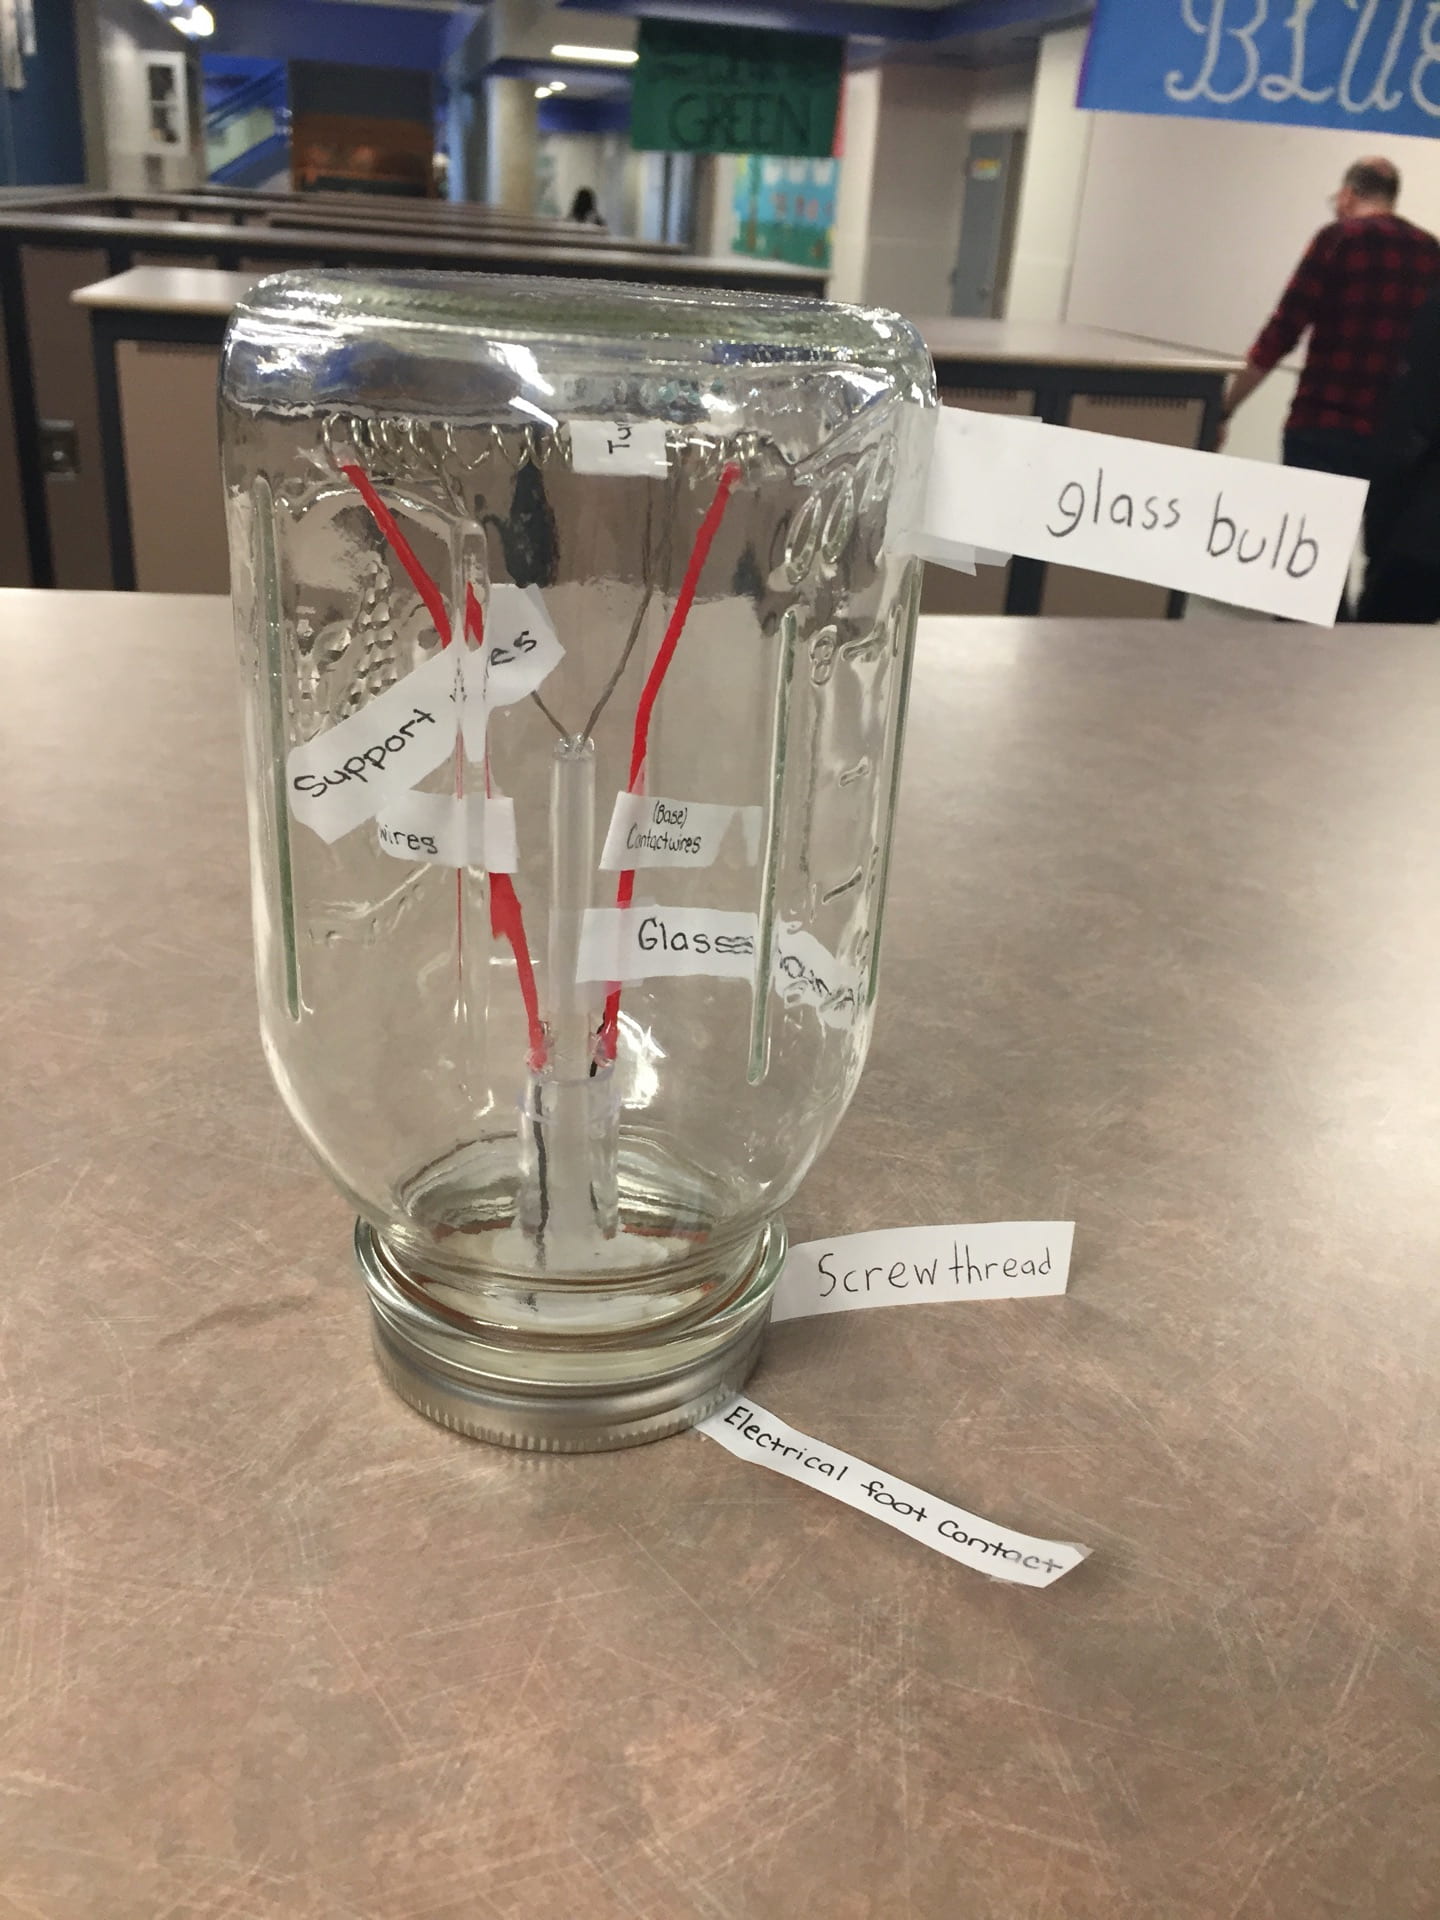
The purpose of the (incandescent) Lightbulb is to produce a source of longer lasting light from using electricity instead of using a candle or lantern.
2. Form and Function (How does it work?): What are its main parts and what do the parts do? How does it use or generate electricity?
To use the light bulb all you have to do is screw it into the socket, Usually the socket for the light bulb is on the ceiling so you might need a ladder or stool to do the task. The main parts of the light bulb are the Glass bulb (mason jar) which contains everything in the light bulb. Then the Tungsten filament (metal spring) is what creates the light, and it has a high melting point that’s why the (incandescent) light bulb can stand heat for a long time. There are two Contact wires (red and black wire in my model are the contact wires) they are both connected to the tungsten filament but one connects to the foot to let the electrons travel up to the Tungsten filament from the socket and the contact wire is connected to the base which allows the electrons to leave from out of the light bulb to complete a circlet, because if the electrons didn’t have anywhere to go the light bulb wouldn’t light up. The support wires are what holds up the tungsten filament, they’re connected to the glass mount and the Tungsten filament so it doesn’t fall over. The glass mount allows everything inside the lightbulb to stay in place and allows the electrical contacts to run through the light bulb without any air or gas leaks. Last but not least the foot of the light bulb is the part at the very bottom of the light bulb that connects the light bulb to the in socket, so the electrons can flow through the light bulb, and the screw thread holds it in place so it doesn’t fall out of the socket.
3. Evaluate
The strength of the (incandescent) light bulb is that they do not that cost much money to buy and they are easy to install, all you have to do is screw it into the light bulb socket. The (incandescent) light bulb also comes in difference sizes and shapes to accommodate you and your needs. The weakness of the (incandescent) light bulb is that they burn out fast, so you have to go through the hassle of going to the store to get a new one, and it cost more money to use than other light bulbs. There also very fragile and can’t be brought to recycle centre to be recycled.
I think it is not a satisfactory solution to the problem it’s trying to solve because you can just by a LED light bulb, they cost more money but I think it’s worth it because it last a lot longer, they can last up to 10 year +, so you don’t have to go through the hassle of going to the store and changing them out, so often. LED light are one of the most energy efficient light bulb in the market because rather than the light bulb using most of it energy producing heat, the majority of the bulb is used for what it’s meant to do produce, light. Another perk is that LED lights can be recycled.
Sorces
Business Matters. “The Top Nine Benefits of Using LED Bulbs.” Business Matters, 27 Nov. 2019, https://www.bmmagazine.co.uk/in-business/top-nine-benefits-using-led-bulbs/.
Incandescent: Light Bulb Types. (n.d.). Retrieved from https://www.bulbs.com/learning/incandescent.aspx.
RF Wireless World. (n.d.). Retrieved from https://www.rfwireless-world.com/Terminology/Advantages-and-Disadvantages-of-Incandescent-bulb.html.
“Let There Be Light (Bulbs).” Edited by Walden Media , Walden.com, 2008, www.walden.com/wp-content/uploads/2008/10/COE_actguide21.pdf. http://www.walden.com/wp-content/uploads/2008/10/COE_actguide21.pdf
Define and discover
The problem I’m trying to solve is that I need to organize the periodic table differently, or add something to the periodic table that makes it better then the original periodic table. Im trying to make the period table better, by making it so you don’t have to waste your time trying to find the elements on the Periodic table, because the original periodic table is all mashed together so its hard trying to find each element.
Dream
the period table tells us the:
You could arrange the elements physically based on if its a solid, liquid, or gas or you could make three different sections, one for solids, liquids and gases so it’s easy to find them. You could arrange the element on the chemical properties, from most to least reactive or from least to most reactive and you could arrange them based on how they react.
A circle could be used to show the shells of each element for example each ring of the element would have that number of shell like ring number one would have one shell and number two would have two and so on , a cube would work well too because there are 5 families and each family would have a side and the one remaining shell would have information like on what the stuff on the element means.
I could use colour to identify the different families on the period table. I can also use colour to show what element are metals and what ones are non-metal and you can use colour to tell what elements are a solid, liquid and a gas.
Design
My plan is to make a cube with the 5 families with one family on each side of the cube, but one side will have two families on it because I will also have section that has element that don’t belong in those five family. I decided to do the family we learned about, which are and noble gases, halogens, transition metals, Alkali metals and Alkaline Earth Metals. I will also have a side that tells what the stuff on the elements means, like how it does that on the original period table. I will also colour each family one colour so you can tell what family is what and write facts about each family.
How I made it happen is I first printed out a big periodic table and cut out each family and colour each family after that I wrote down facts about the families and taped out the families and taped the family and the fact for that family on a piece of cardboard when I was done doing that for each family I taped the pieces of cardboard together and made a cube. Last step is to add a little pick dot on each element that is a non metal, so you can tell the different between what one is a metal and what one is a non metal.
Deliver
I made a cube and on each side that had one of the five families I learned about which are halogens, noble gases, transition metals, alkali metals and alkaline earth metal. I also put a section of other elements on my period table because they didn’t fit into the five families. Then I wrote facts about the halogen, noble gases, alkali metals and alkaline earth metals and then I colour each of the five families a different colour so you could no which family they were. I also had a side that tells the what the stuff on each element meant like it does on the original periodic table.
Debrief
I could of improved on my plan by being more organized and by making the cube look less messy by doing better on taping the cube together. I also could added more stuff to the cube if a thought out of the box.
Explanation
I decided to make a cube period table that have one of the five family we learned about on one side I also have I section for the other elements that don’t fit into those families. The names of the family I’m using are Noble gases, Alkali metals, Alkaline earth metal, Transition metals and Halogens. I decided to make a cube period table because it is hard to find all the element on the period table because there all mashed together so I thought it wound be easier if sectioned them off so it wound be easier to find them, to make to even easier I coloured each family a different colour so its easier to tell what family your looking at. I also put a pink dot on or beside each element that’s a non metal because we need to know if an element is a non metal or a metal so we can make compounds, classify the element properly and to make molecules. Then I saved a side of the cube that tells you what the numbers and symbols on the element are, for example what the atomic mass is or Ion charge of the element, I copied this idea off the original periodic table . I also have facts for noble gases, alkali metals, alkaline earth metals and halogens, some of the facts I used are how many electrons are in their outer shell.


Chart 1: Qualitative Observations
| Test | A | B | C | D | E | Mystery X | Mystery Z |
| Appearance | Pure white tiny grains
Looks like salt
|
Shiny rough white crystals
Looks like sugar |
Powdery pure white molds together but not that well
reminds me of cornstarch |
Its powdery and it can easily mold together its white and It looks like whole wheat flower | small Grainy Pure white and is powdery | Thin pure white powder that molds together a little bit | It’s a mix between powdery and grainy its like soft sand |
| Dissolves in Water
|
It dissolves in the water a little bit | It dissolves in the water | It sat above the water and slowly sank in it became thick | I sat above and slowly sank in it became squishy | It dissolved | It became hard
|
It became watery |
| Heated in Aluminum foil
|
Stayed the same | It first change color to a light brown and started to boil then when it cooled down it became hard like a rock | It burned | It turn a beige but didn’t burn not as bad has some other ones | Stayed the same | Stayed the same | Stayed the same |
| Universal Indicator
|
It became yellow and orange with red dots | It became mostly red and the outside yellow | It became orange and it absorbed the indicator | It became yellow | It became a dark green with a hint of yellow | It became light green with I tiny bit of yellow | It became yellow and sank into the substance |
| Iodine Solution
|
It seeped through fast | It seeped through fast | It sat above the power and ate away at it made the color brown
Hard goo |
It sat above than slowly seep in and has a little bit of foam | It seeped in fasted | It seeped in slowly and changed the color brown | It sat above for the longest and turned a little bit brown it became hard |
| Vinegar
|
It just absorbed it | It absorbed it | It became a hard and thick substance | It became gooey thick | It raised and bubbled | It raised and bubbled | Became soft and foamy |
Chart 2: Identifying Chemical and Physical Changes
| Test | A | B | C | D | E | Mystery X | Mystery Z |
| Dissolves in Water
|
p | p | c | c | p | p | p |
| Heated in Aluminum foil | P | p | c | ||||
| Universal Indicator
|
c | c | c | c | c | c | C |
| Iodine Solution
|
p | p | C | C | p | C | C |
| Vinegar
|
p | p | c | c | c | c | c |
The difference between a chemical and physical change, is chemical change is when an object is mixed or made into a new material or structure, for example when you add vinegar to baking soda it is a chemical change because you are adding a substance to the original matter. Physical change is when the matter looks different but didn’t change the product or didn’t add a chemical to it. For example when you take ice out of the freezer and melts, it changes physically because it looks different, but if you put it back in the freezer it turns back into ice, or when you break your mug it physically looks different but the material of the mug stayed the same. So the difference is a chemical change is when you add a new chemical and is changes product or structure and a physical change is when it looks different but it is still the same thing.
The appearance before I did any testing was a powder like substance and the powder was easily moldable, the colour of unknown D was white with a slightest tinge of brown. In my opinion and others it look like whole wheat flour because of the texture and the tinge of brown. The dissolves in water test showed that the powder was dense because the water didn’t sink in for a while, once it sank in unknown D became squishy. For if it dissolves in water, I said it was a chemical change because the powder became squishy and you can’t reverse the change. For the heating in Aluminum unknown D turned a beige colour, after a while it started to burn, but not as bad as some of the other matters. I said from that test D did a chemical change because when you burn something you can’t reverse it, like when wood burns and it makes ash you can’t turn ash back into wood. The universal indicator test made unknown D change its colour from whiteish brown to yellow, that means it’s a chemical change because it occurs that there was some kind of reaction that happen to make the colour change. Unknown D reacted to the Iodine Solution by foaming up a tiny bit and unknown D also kept the Iodine Solution from seeping in for a little bit. Unknown D got a chemical reaction because it started to foam up when I poured the Iodine Solution, it’s a chemical change because you can’t change what happens to the powder. The vinegar test showed that it was a chemical change because the powder turned into thick goo like Oobleck which makes it a chemical change because you can’t reverse goo into powder. Unknown D had all chemical changes.
Based on my results I think the two substance that make up X was D and A because A had a tiny grain like texture like salt and the colour was pure white. D had a powder texture and D is the same colour as X. In my opinion X has a mix of those characteristics because X has thin powder that barely molds together and it’s probably the grains from A stopping it from molding that well. Based on my results I think the two substances that make up Z is C and E because C is a pure white powder that does mold that well and E has small grains and is powdery. Z has the texture of a mix between powdery and thin grains it reminds me of soft sand, in my opinion its colour is a mix of C and E. That why I think X is D and A mixed and Z is C and E mixed.
A source of error I made was that I blew on the dish, to get the powder off the sides of it and all the rest of the powder on the dish went on my face when I should have just brushed it off. I also made a mistake when I sat on the counter beside the burner, well I was watching it but I was nicely reminded that I should get off and I won’t do it again because I now relieze how it was dangerous.
Will bush beans grow faster if we water them with water or Fresca
A)
I think the beans will grow faster with Fresca, because the carbonated drink club soda helps plants grow because it has nutrients like carbon, oxygen, hydrogen, phosphorous, potassium, sulfur and sodium that are good for plants, but sugar isn’t good for healthy growing plants because they will often reject it, stop drinking it and die off. But Fresca has no sugar. So, that’s why I think Fresca will help bush bean grow faster and taller.
Tips to help me grow bush beans:
B)
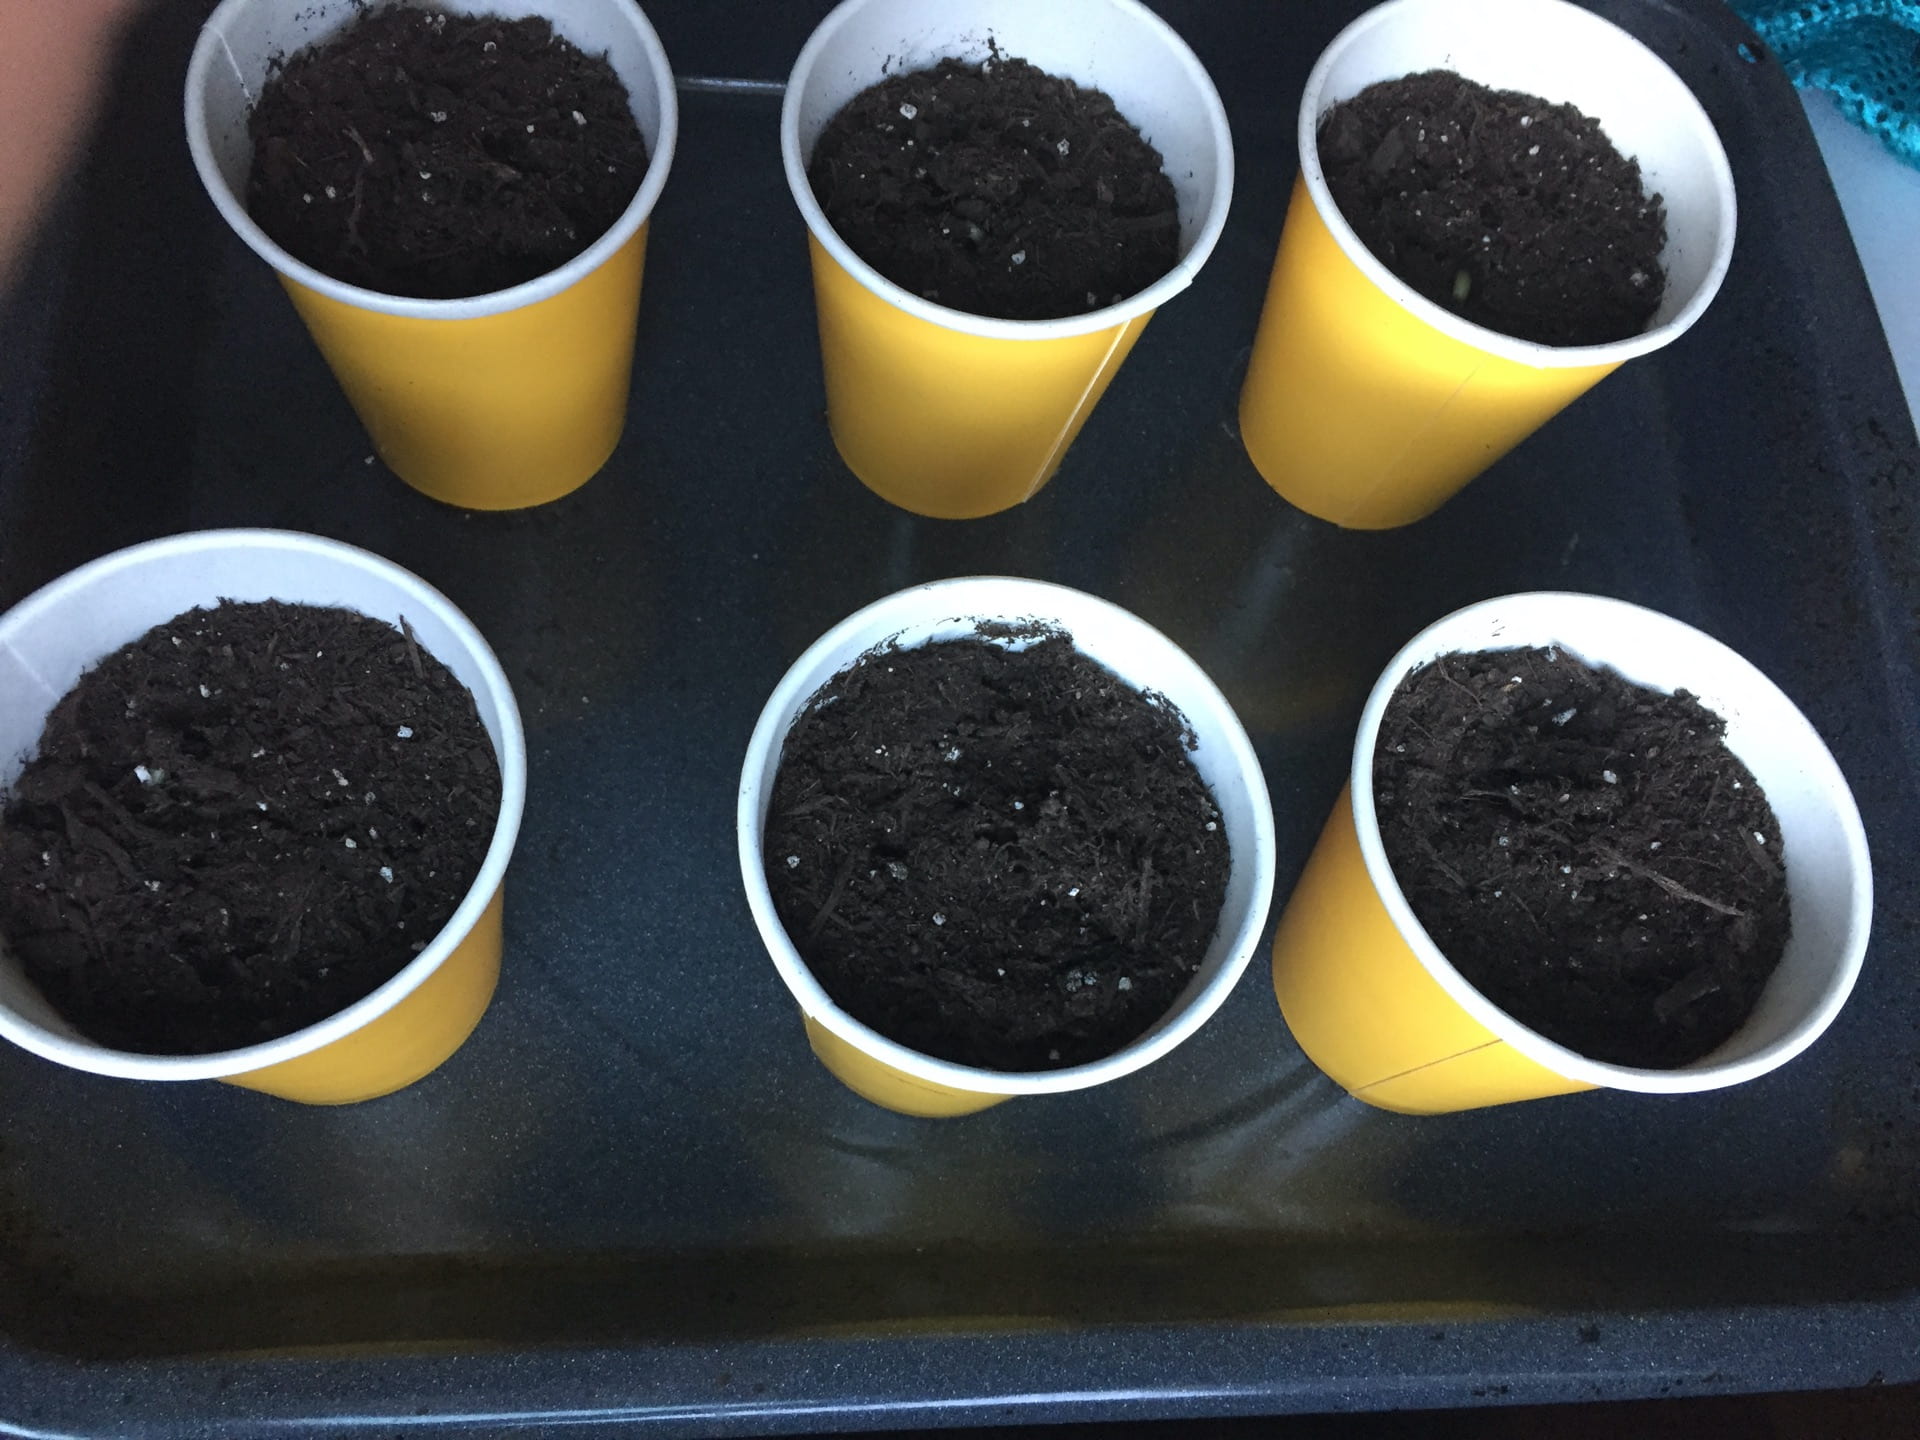
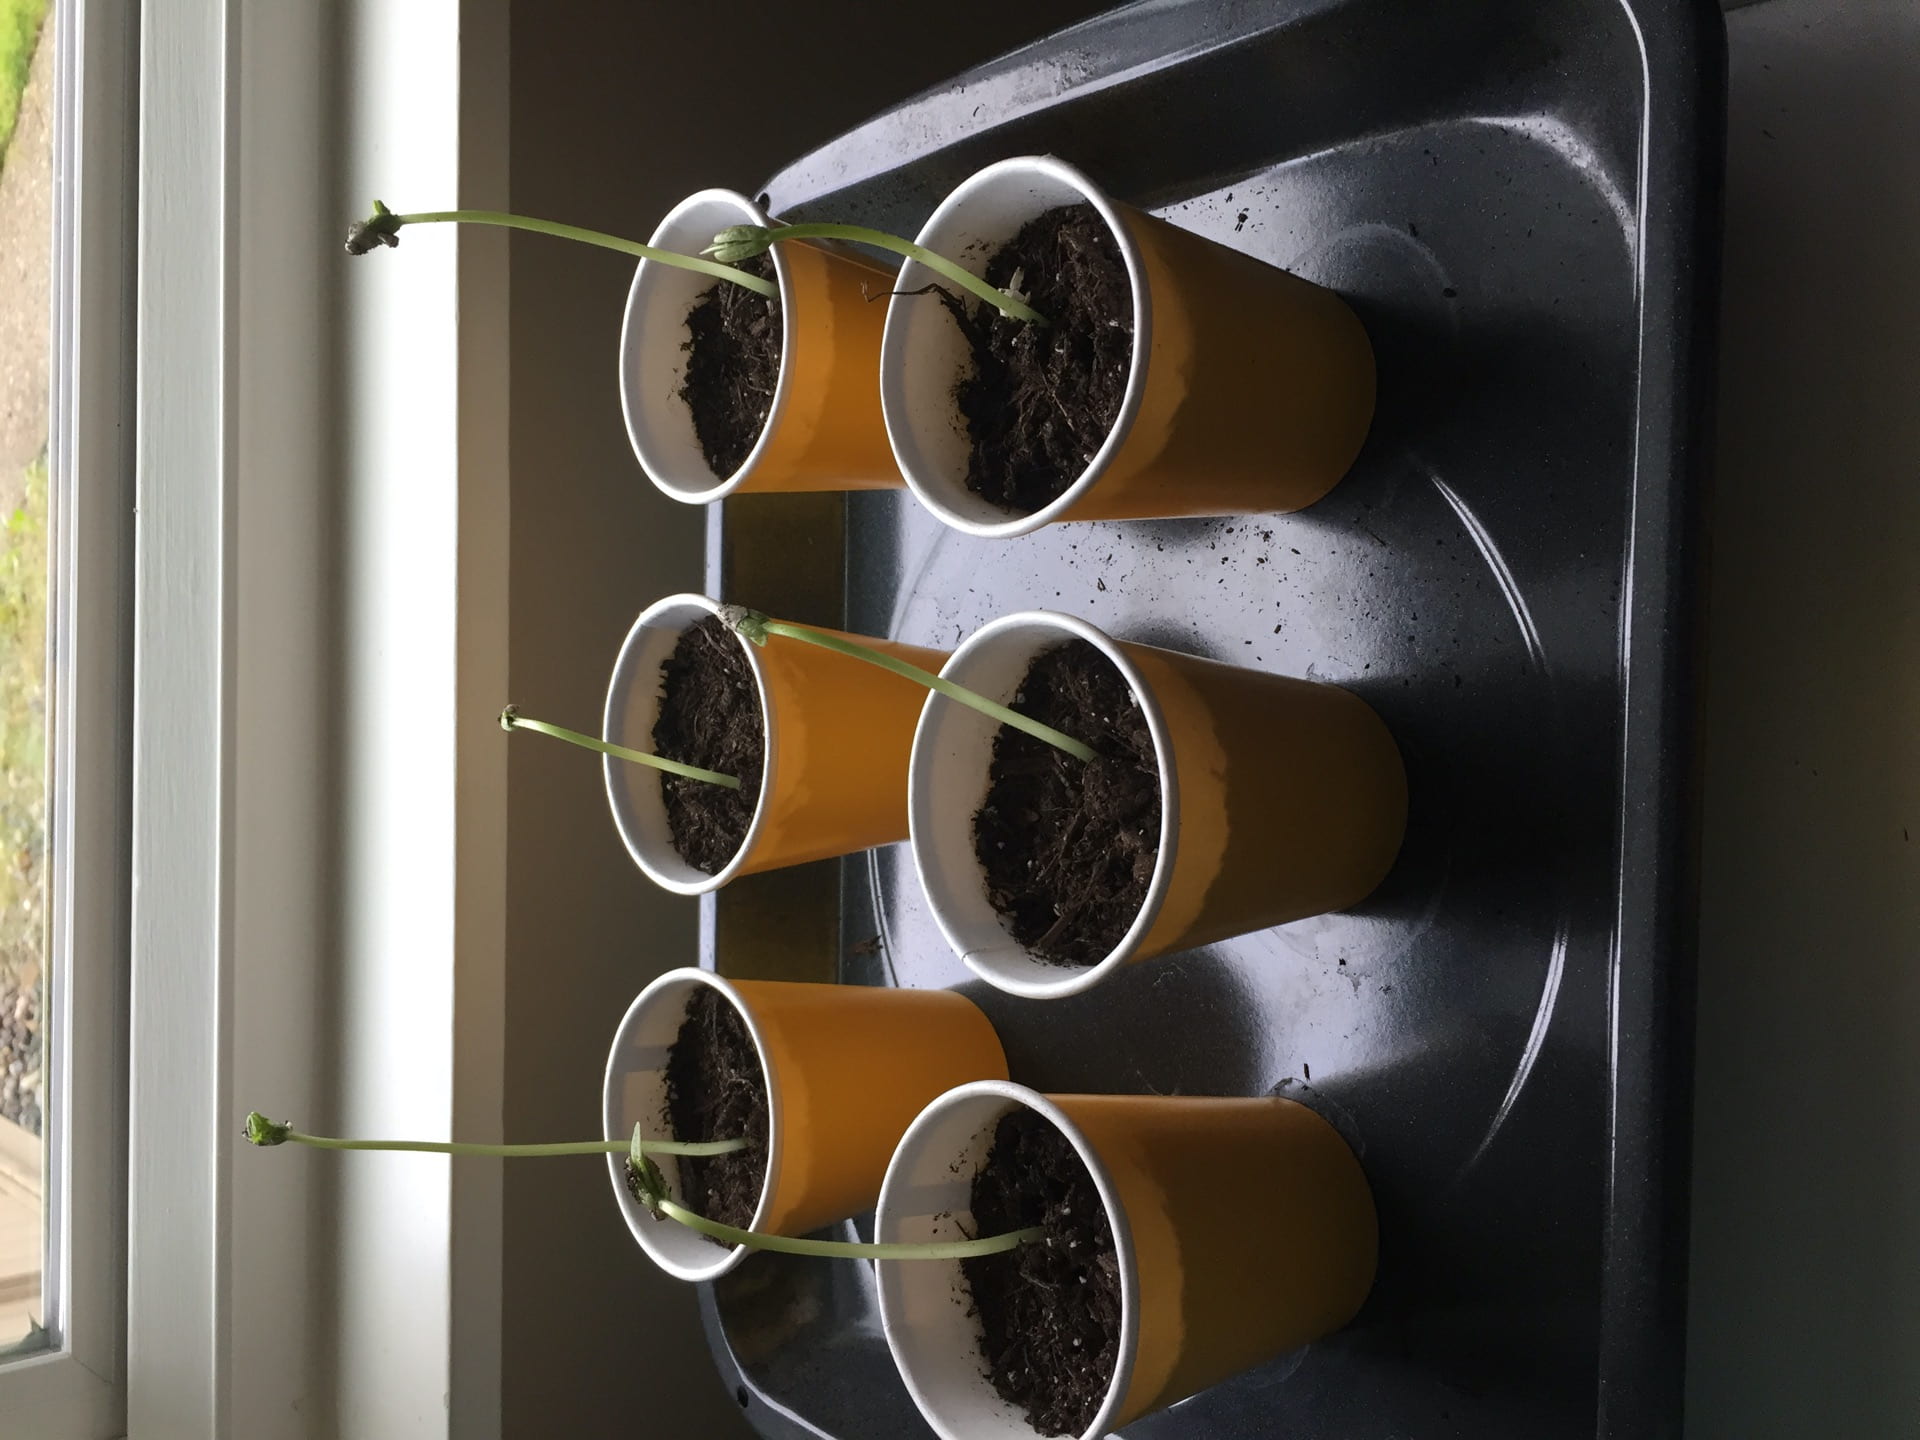
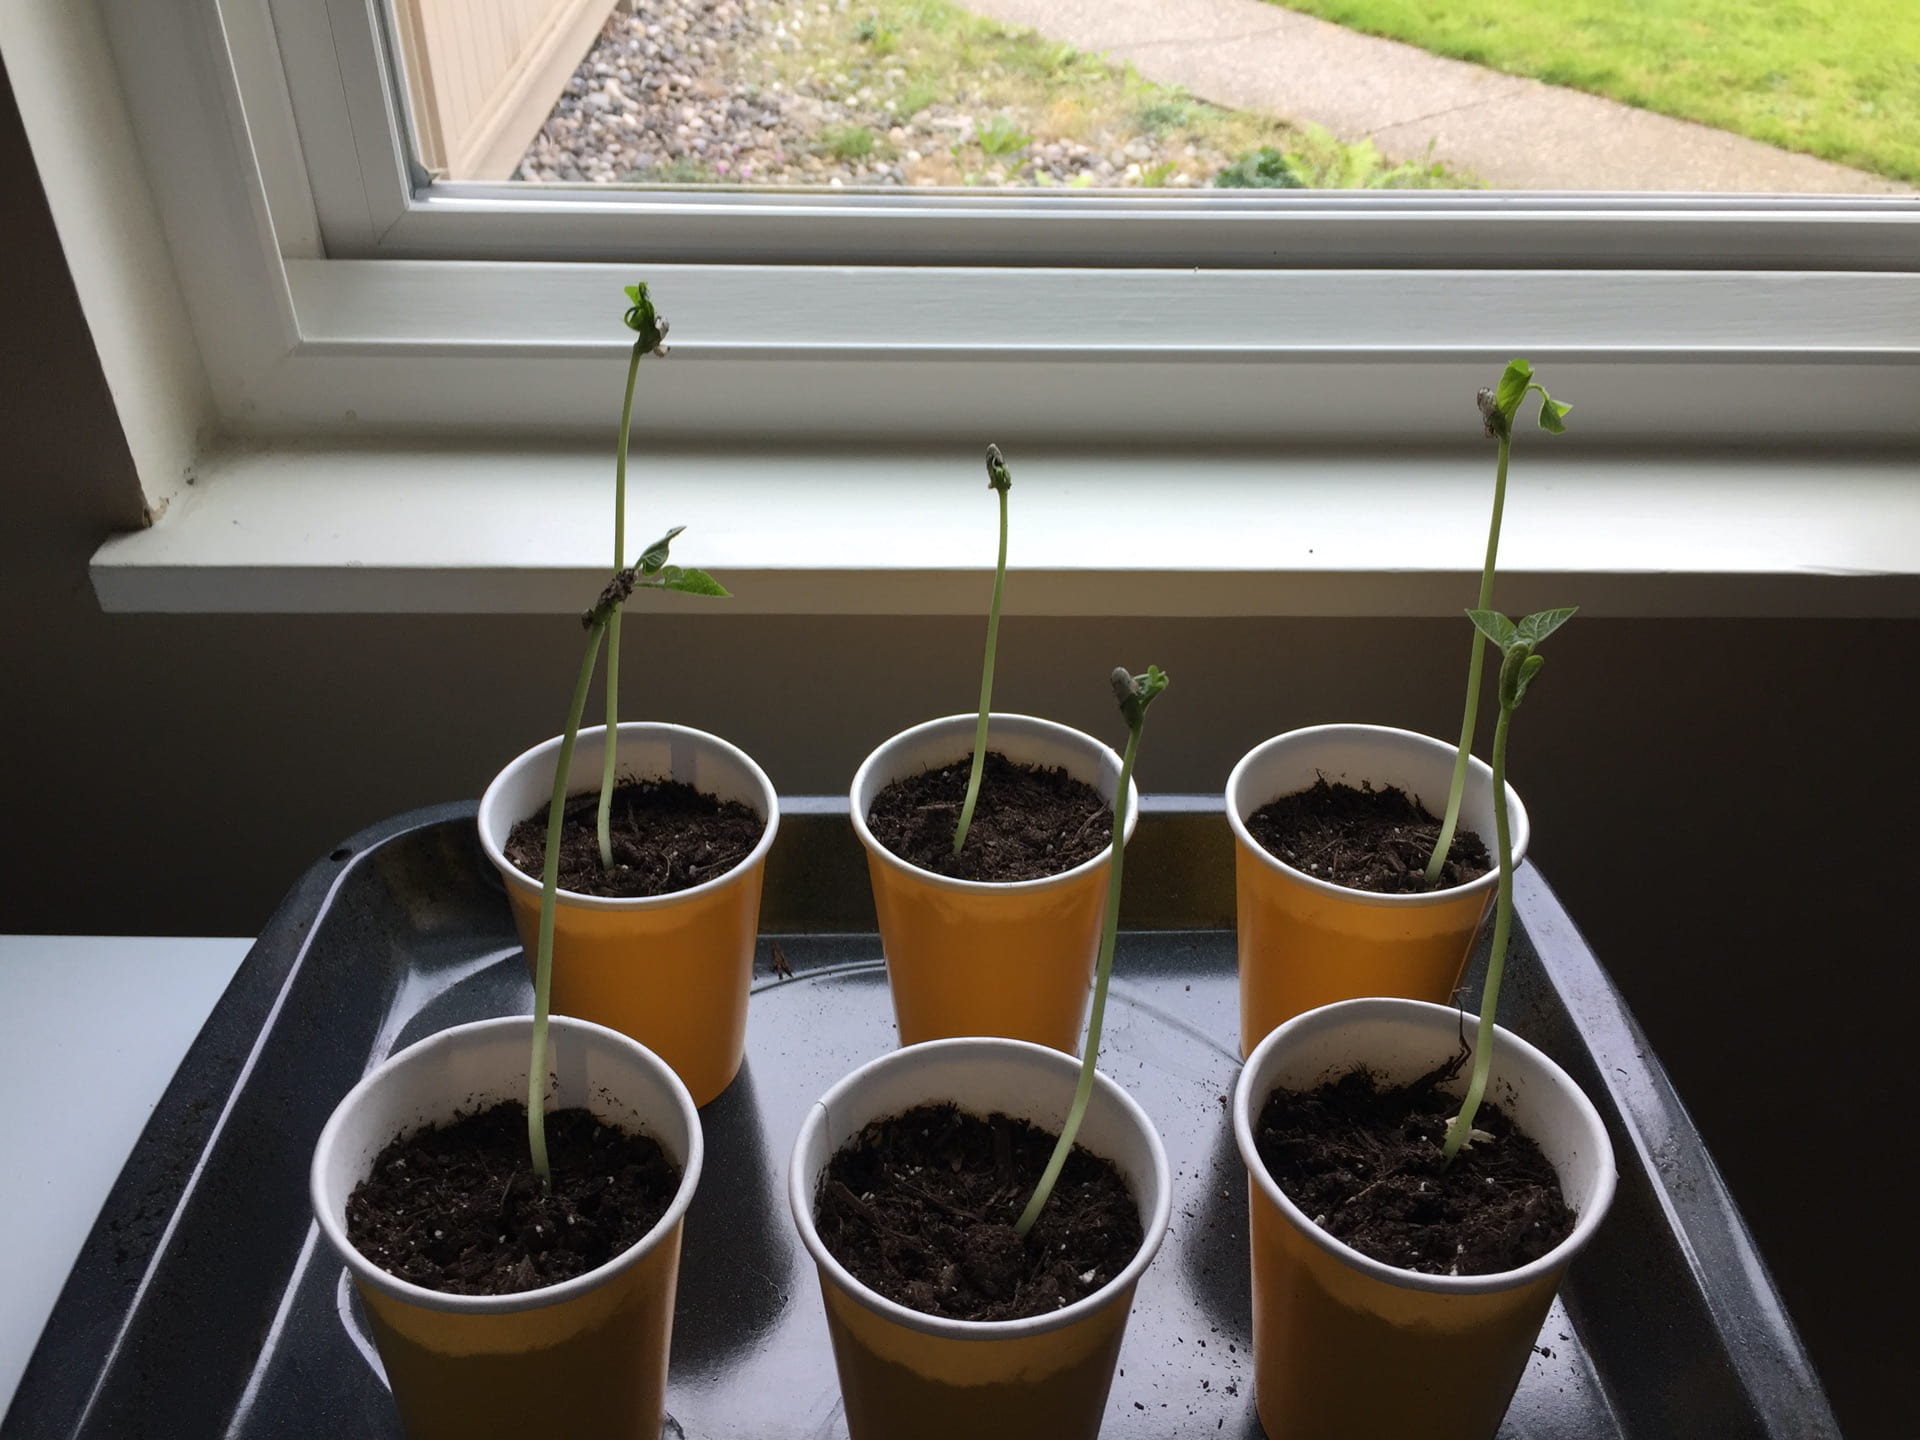
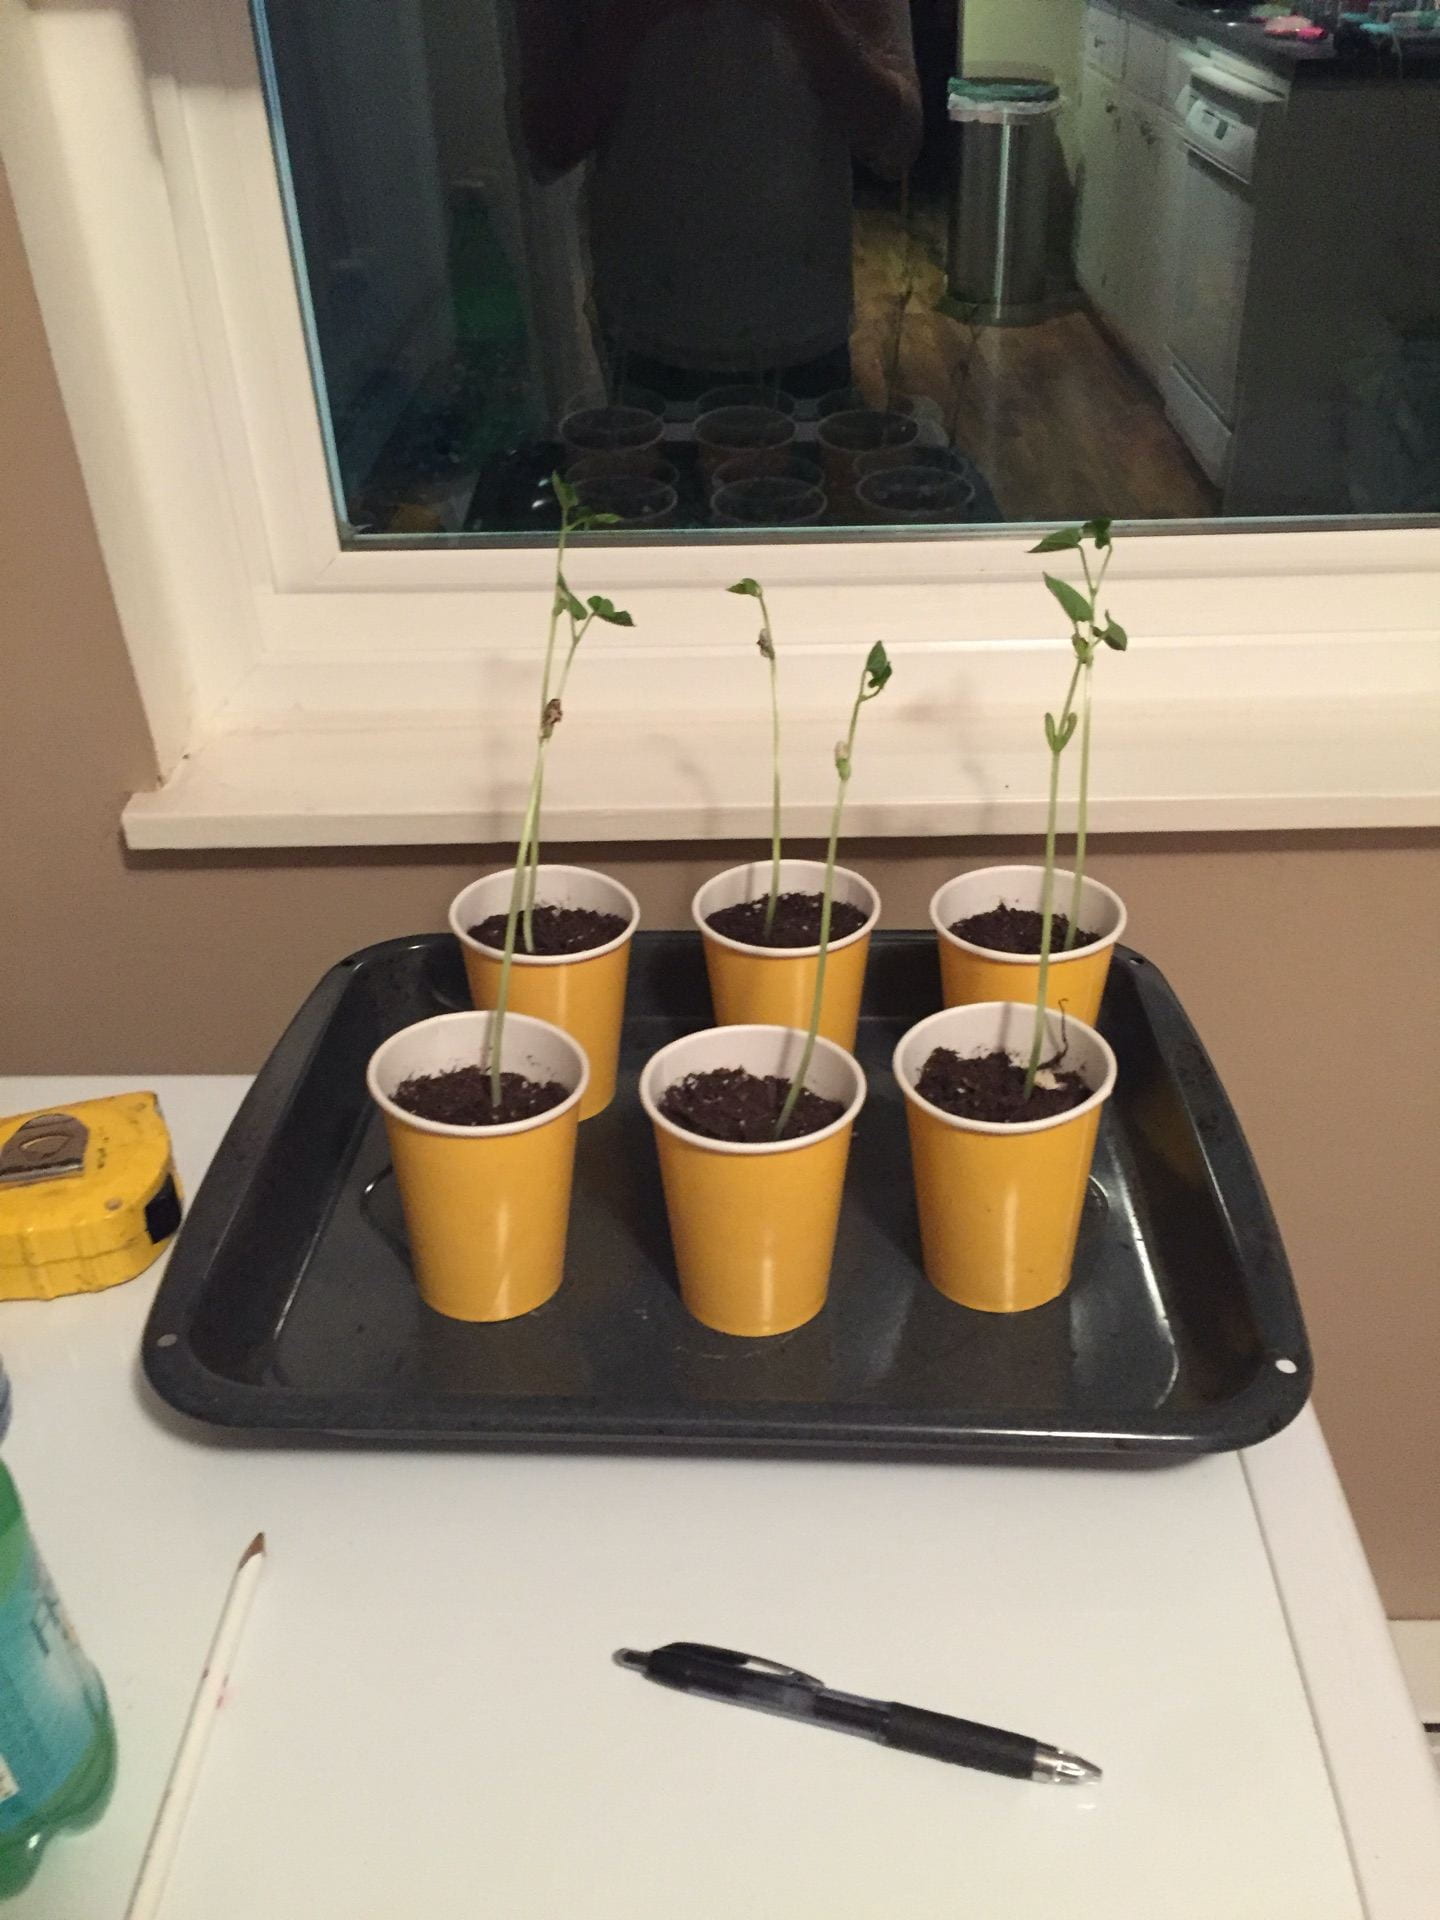
The plan is to buy bush bean seeds and plant them into their own pot and to watch them grow over the next couple of weeks. Water three with Fresca and three water, to see which beans will grow faster.
What equipment will I use to record our data? To record our data I will take a picture every day to show the beans growth. I will also measure the beans every day and make a chart to record the growth.
The risk is that the beans might not grow because it’s getting colder outside and it will be fall when I do my project. There are no safety concerns.
I think it’s ethical to see if Fresca makes bush beans grow faster because Fresca isn’t harming anything. There are no environmental issues because Fresca bottles are recyclable and Fresca has no harsh chemicals. I think that the First Peoples might not like that I’m using Fresca because it’s not natural like water.
C)
 Loading...
Line graph: this graph shows the beans growth in 18 days and how they drop in growth and grew clearly, because it is one big line. On the x axis it shows what days they are growing at but you don’t really need that because it’s in one line, it also show which bean belongs to which color. The y axis shows the height of the bean measured in centimeters. The relationship between the variables are the days and the height and this shows that between the 7 and 12 days the bean grew really fast and started to slow down afterwards, it also shows when the beans start to shrink near the end.
Loading...
Column chart: This chart shows the beans growth over 18 day and how tall they grew or how much they shrunk in centimetres. The x axis shows each day the beans grew. It also shows what color goes with what bean, for example the color yellow goes with fresca 1. The y axis shows the height of the beans measured in centimeters. The beans that were given water had more inconsistencies then the ones that were fed Fresca, for example bean 1 was doubling in size every day until day 10 where it started to slow down, on day 11 it grew an even smaller amount, then we got to day 12 and bean 1 had a big growth spurt and shrunk the next day. On day 14 the bean got back on track where it was a little taller than it was on day 12. On day 16 it had another drop in growth, the next day it grew a little more and shrunk again.


Conclusion
Overall I think my findings didn’t support my hypothesis because the Fresca didn’t make the beans grow faster, but it did make them grow more consistently so if you are in a the jungle and all the have is Fresca and bush bean seed use the Fresca to water your bean and you should have healthy growing bush beans. My evidence based conclusion is that I first asked my partner questions about what is our question going to be and after that who is going to look after the plants. I ended up looking after the plants by watering them once a week, taking pictures every day and measuring them every day. The research came next, I first had to research if Fresca would help the plants grow faster and it should because of its nutrients and it doesn’t have sugar. After that I had to look up what method we would like to do. We picked the hole method because it seemed like the easiest one to do and I want to see the beans sprout out of the soil. Then we had to make an hypothesis. Our hypothesis was will bush bean grow faster, if we water them with Fresca or water. We tested are hypothesis by doing our plan, which was to plant six beans and water three with Fresca and the other with water and see what beans grew faster. How we would see which bean grew faster. I took pictures and measured the beans once a week. When we were done testing our hypothesis I analyzed by making and line graph and column chart to see how much they grew or shrunk. I concluded that the chart worked well with my data I used because it shows the beans beside each other growing so you can see the difference in height. But I think the line graph shows a better understanding of the beans growth because you can see it growth in a pattern, rather than how much it grew each day like the column chart, you could almost see it like a time line. I think the chart shows their measurement in growth better and the graph shows what happens in the bean overall like what beans shrunk or grew more. I shared my results by putting it on Edublog. It was kind of confusing that Fresca 3 starts as one of the smallest plants and ended up as the tallest one in the end. If I could do something differently I would measure the plants in centimetres first, not inches because it was annoying to have to convert it and I would also rotate the plant so they could get equal sunlight.
Sources
Admin. “How To Plant Bush Green Beans.” Veggie Gardener, 25 June 2015, https://www.veggiegardener.com/how-to-plant-bush-beans/.
Deziel, Chris. “What Happens When You Water Plants With Soda?” Sciencing, 2 Mar. 2019, https://sciencing.com/happens-water-plants-soda-6300916.html.
“Soil Preparation for Beans.” Soil Preparation for Beans – Garden.org, https://garden.org/learn/articles/view/448/.
“Watering & Fertilizing Beans.” Watering & Fertilizing Beans – Garden.org, https://garden.org/learn/articles/view/454/.
“What Happens If We Give Sugar Water to Plants?” Hunker, https://www.hunker.com/12484396/what-happens-if-we-give-sugar-water-to-plants.
My goals were to take 3 minutes showers for 5 days and to only use containers in my lunch for 3 days. I achieved my showering for 3 minutes goal by setting a 3 minute timer right before I turn on the water and when the timer went off I shut the water off. I achieved my only using containers in my lunch for 3 days by setting a reminder on my phone at 5:00 pm. The most challenging thing about taking 3 minutes showers is that I had to hop into the shower even if the water was cold, because if I waited for the water to get warm my shower would only be a minute and a half long. Another thing is when I washed my hair I had to rush because I had to get all the soap out of my hair before the timer went off. The most annoying things about only using containers in my lunch, is when it was lunch time I had to take the containers around with me, instead of just throwing a zip lock bag into the garbage. It was also annoying when I had to make my lunch because I had to wash the container each time. I would probably do the container one differently by have containers ready and washed in advance. I will not continue do the take 3 minute showers because I like to have baths but I will continue only or mostly packing containers in my lunch because over all it wasn’t that bad and it will save money in the future.
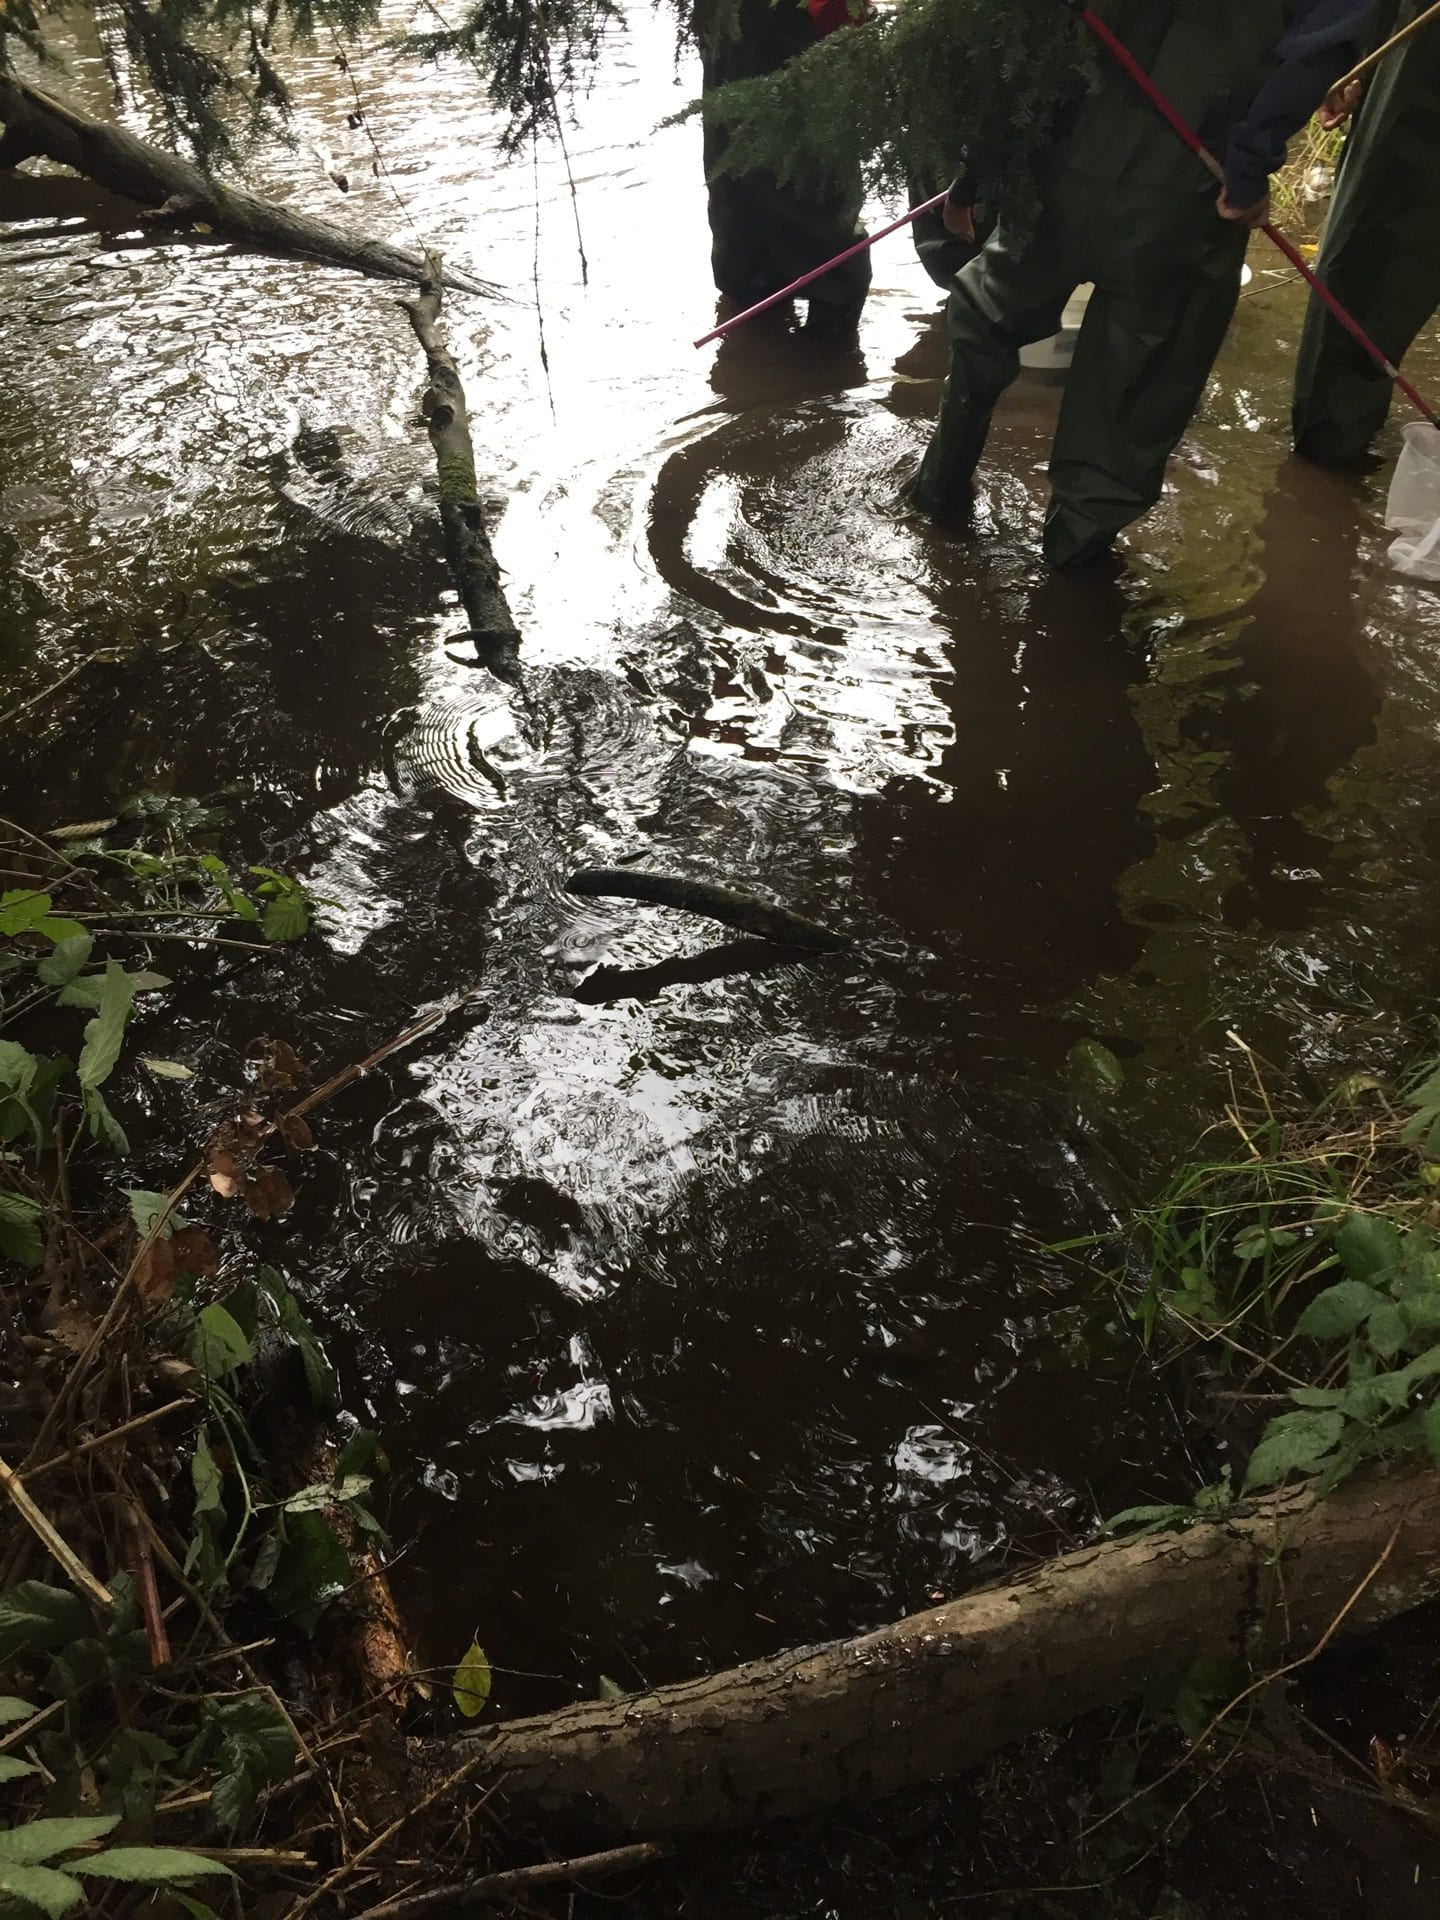
Coquitlam River
We started off at the Coquitlam River, from a glance It looked clean and had a pretty good current to it. The river had no odour and it was clear. The use of the land is for swimming, fishing, gates park, the homeless and Riverside. The riparian zone has a lot of trees, vines, grass and the ground is thick mud. It is about 20 meters long until you get to the side walk. The bank is sloping and is made out of compacted dirt with a combination of weeds and grass, the bank also has a lot of root of the trees nearby. The water moved briskly and caused my parter to be unstable and the substrate didn’t help either because it is made out of small stone that are a little slimy and the shore line is made out of gravel.
Chemical Analysis
The river had cool water temperatures witch means there is a risk for your fish having disease which is bad because we have a lot of people who come there to fish. The pH was neutral at a 6.5 which mean the pH is at an ok level, so its not as clean as your drinking water at home but it you take a sip by accident you will be ok. The nitrate of the river is 3.33 which mean it’s in standards, if your nitrate is over standard it means there could be sewage, fertilizer, leaky cesspools and more in your river. Our nitrite level was 0.33 so it mean it is safe but if it did get higher then we could have a problem because nitrates make a bad illness called brown blood disease that carry in fish and 1 nitrites can seriously hurt babies under the age of 3 months. The hardness of the water was soft which is better then harder water. The carbonate was 20 so it means it is soft.
Invertebrates
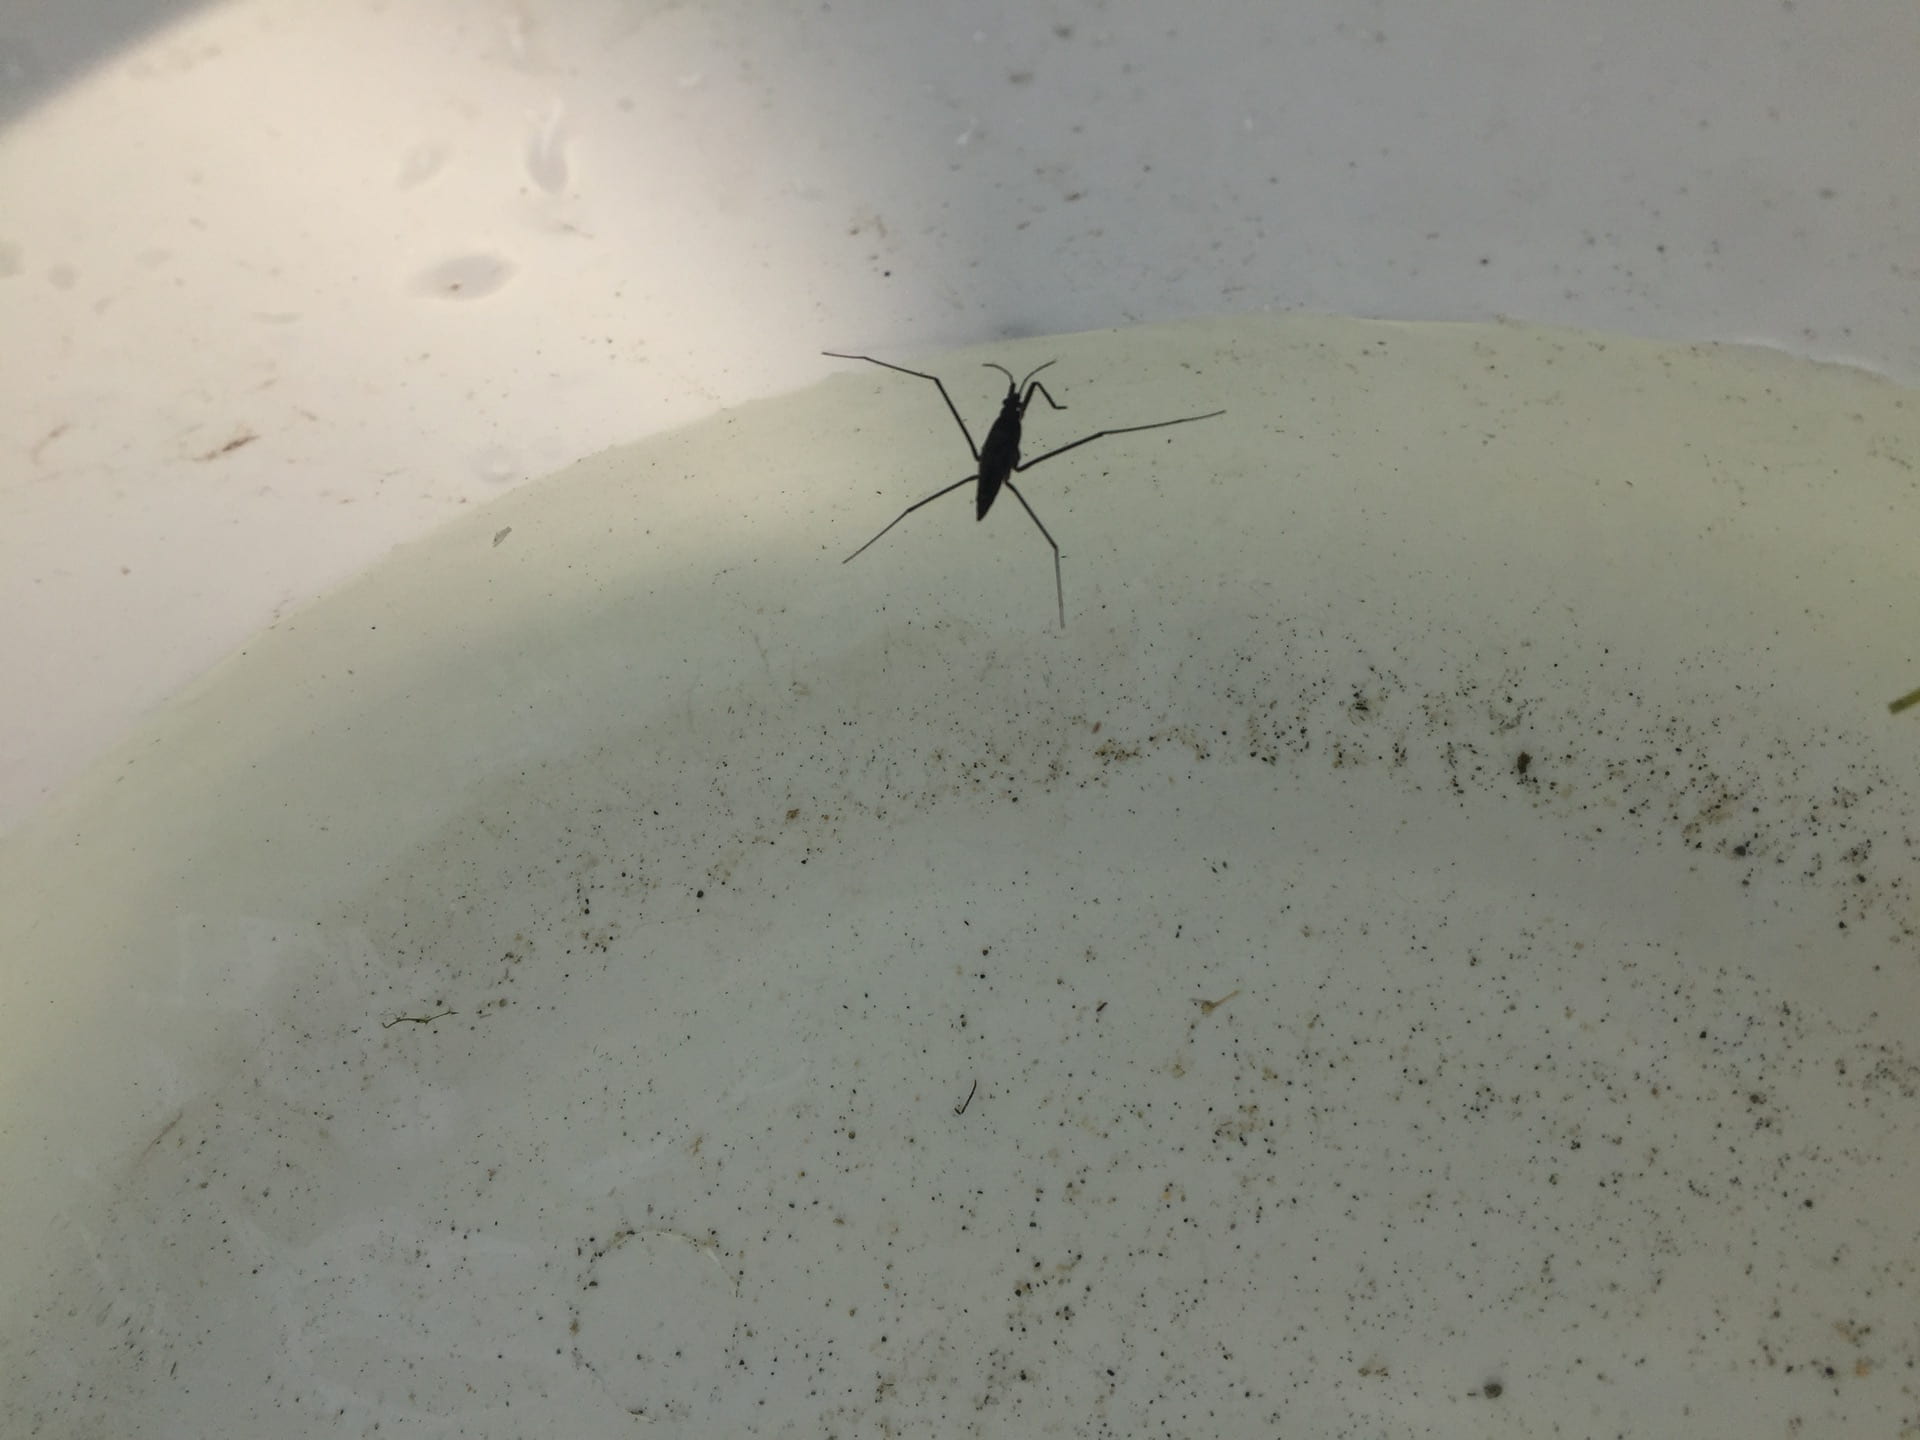
I only found one invertebrate and it was in a puddle right beside the river. The invertebrate was a water strider and they live in still water. The water strider stays on the surface of the water and when it moves it looks like its jumping across the water.

Problems
I think some problems about the river, are that there are a lot of homeless people that live there and leave needles and clothes which could contaminate the river. Also I found a lot of garbage witch I think can be fix if we put a trash can down closer to where the river is.
Conclusion about the river
Over all I think the river is clean and is a fun place to hang out and swim in, but if you want the river to stay that way leave it better then you left it.
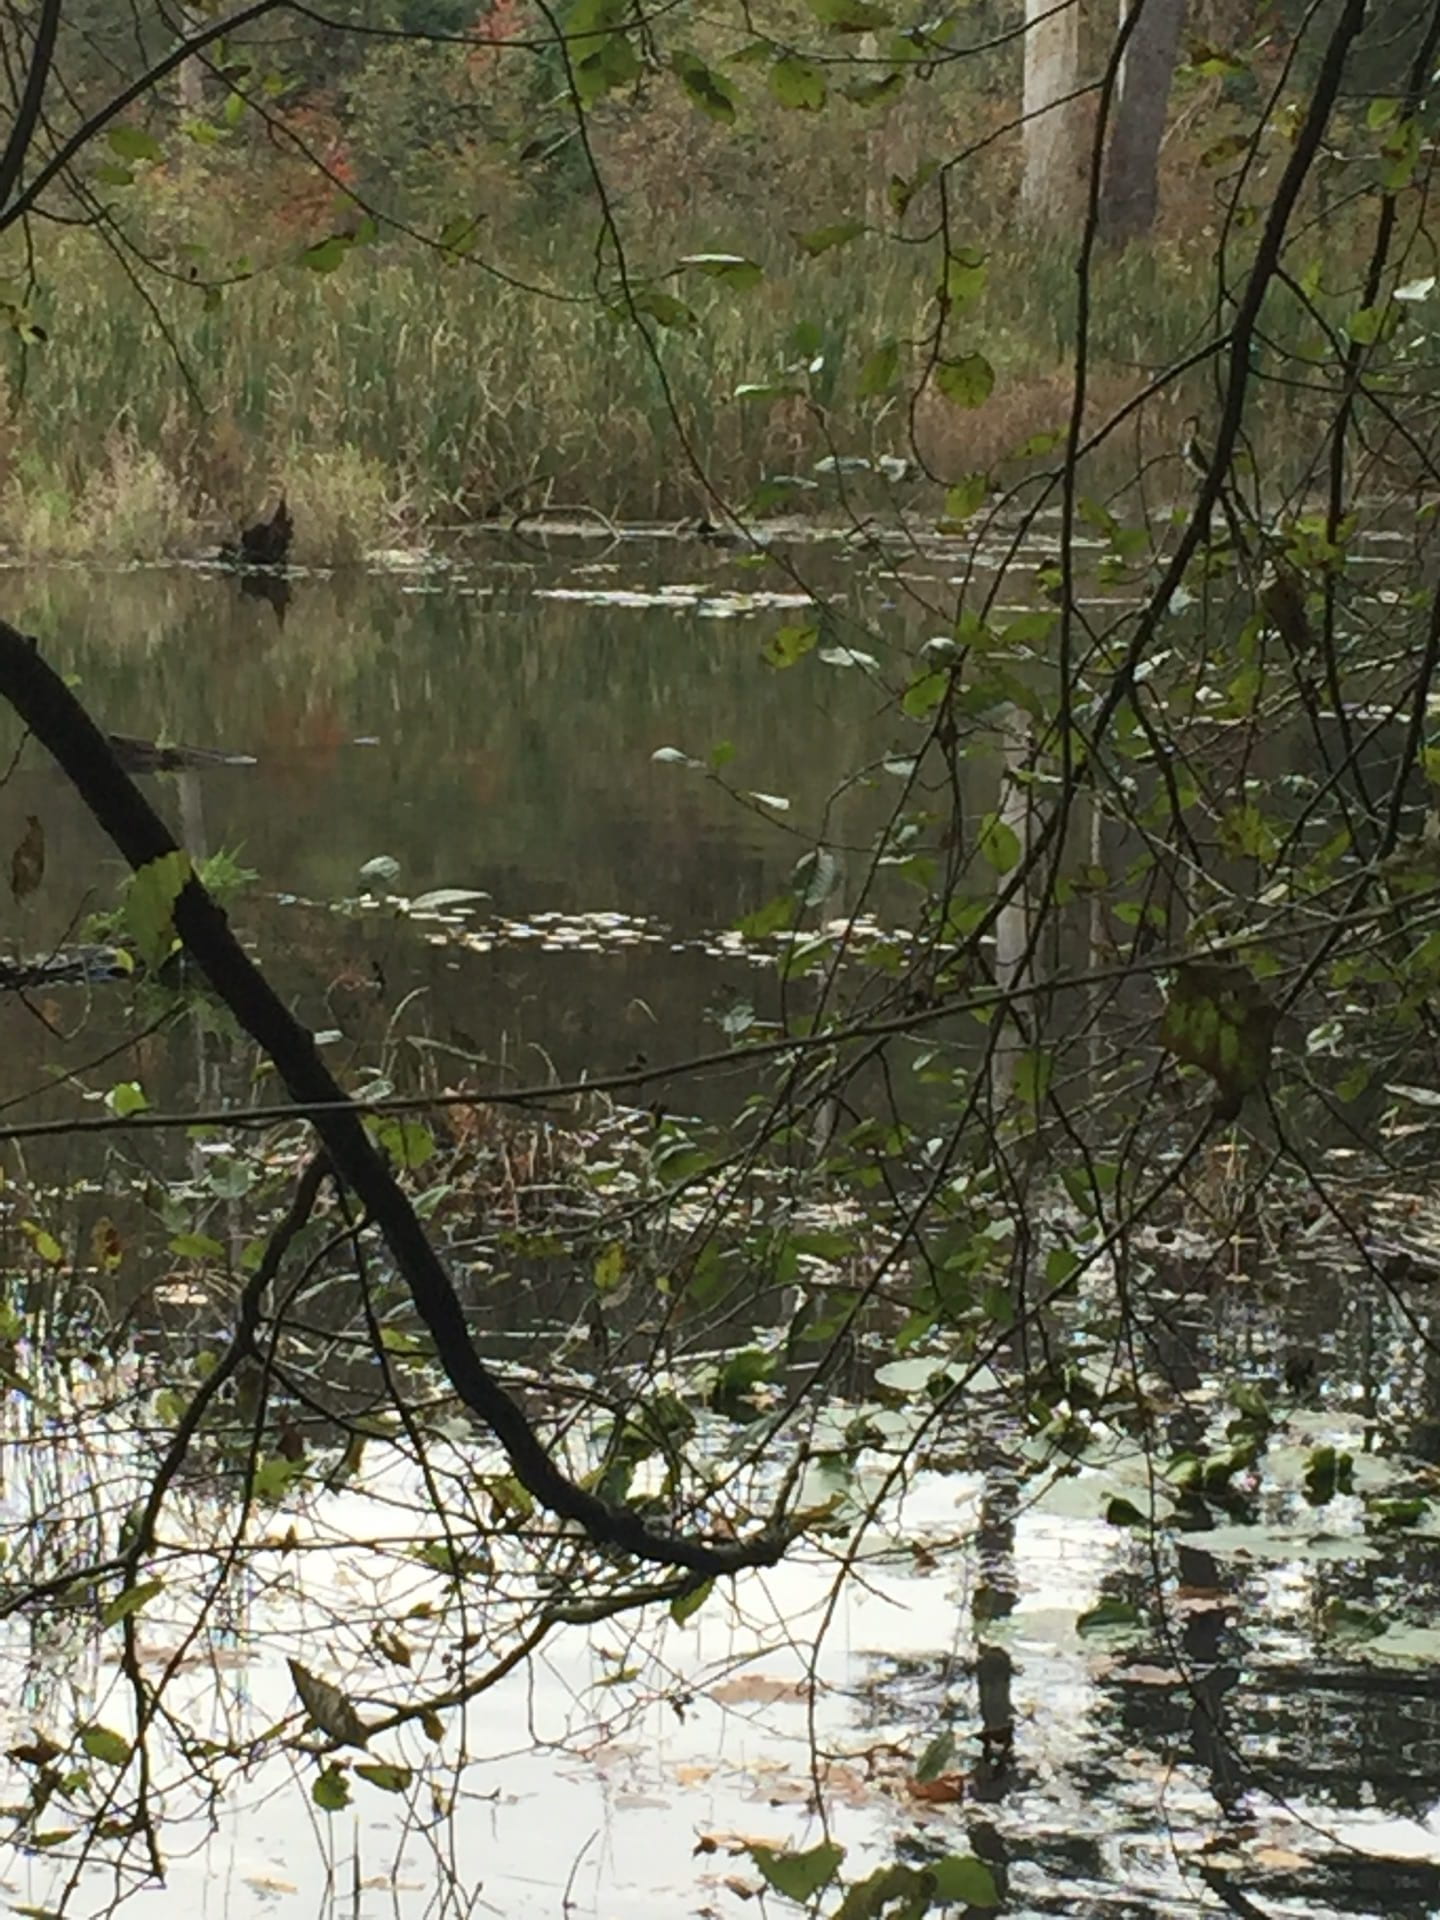
Oxbow Pond
The Oxbow Pond had an interesting smell of sewage and chlorine. Also the water had a brown tint to it. I would say that that over all the clarity was between slightly turbid and turbid. The land is mostly use for Gates Park, homeless people, animals, path ways for walking, and for city cars. The riparian zone as lots of trees, log, brushes and thorns. The bank was very muddy and slippery it also had some pebbles mixed into the mud. There was no movement in the water, the bottom of the pond felt very squishy and hard to move in, it had a lot of logs and sticks to. The pond didn’t really have a shore line but there was a lot of leafs near the edge.
Chemical Analysis
The water temperature was cold at a 9 ,which means there is a low fish disease risk and the pond has some plant life. The pH was also neutral at a 7 which means it is at a normal range of stream water. The Nitrate was 13, that mean it is over standards and could possible have sewage, fertilizer runoff, manure runoff, car exhaust and more, that doesn’t should clean to me. The nitrite at the pond was 1, so it mean it is safe but if it did go over one, don’t fish because the fish could have diseases. The hardness of the pond was slightly hard, which mean it has a higher mineral content that the river. Last but not least is the carbonate was soft at a 24.
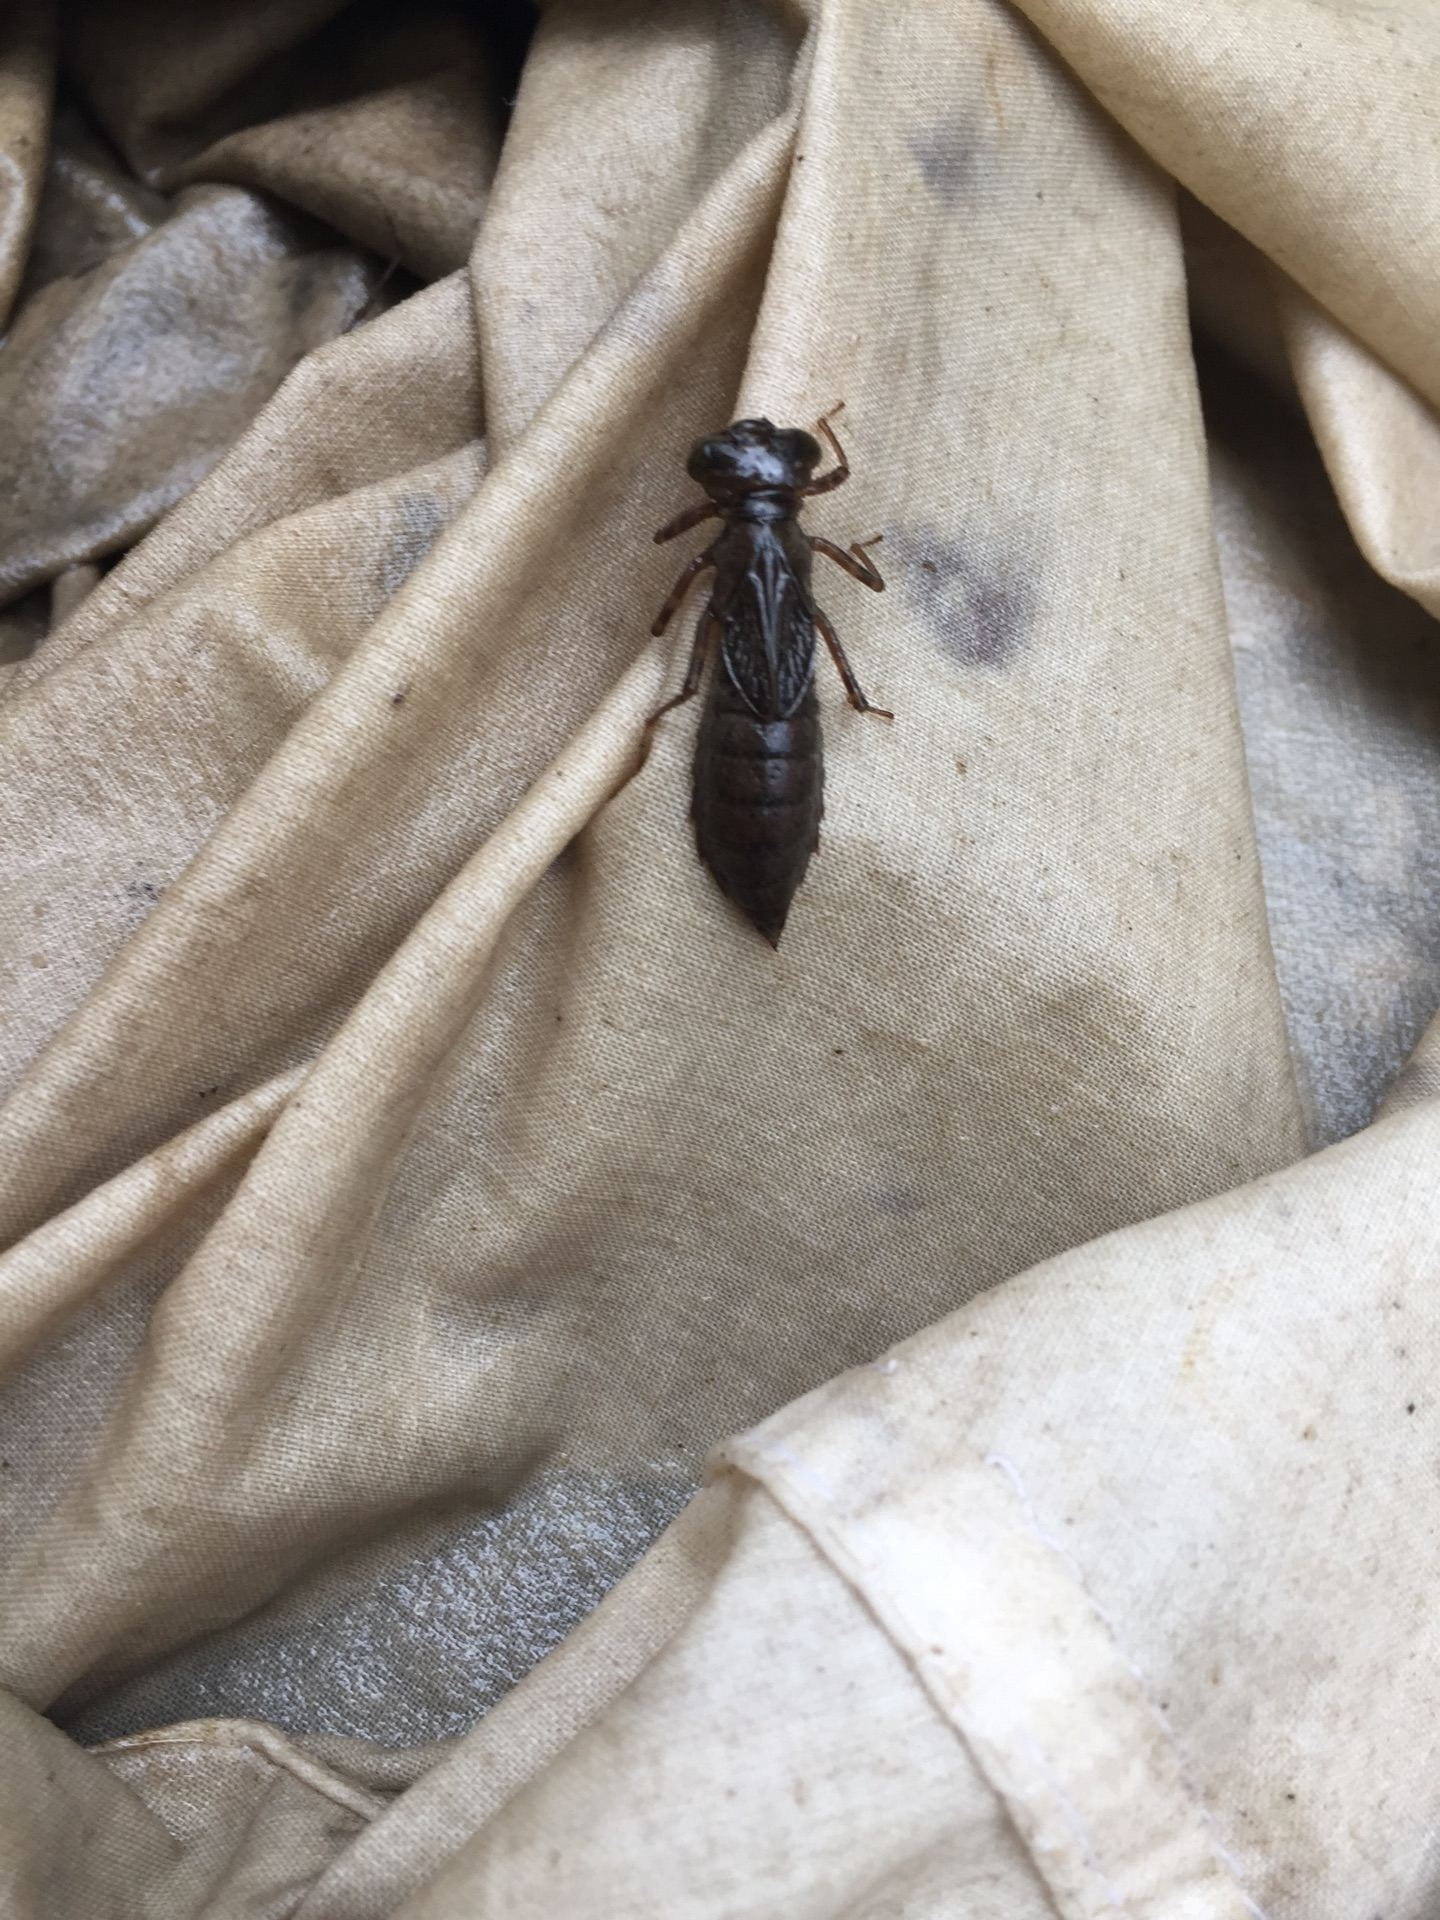
Invertebrates
We found a couple of invertebrates including this invertebrate that we at first thought is was a damselfly but that creature has six legs in the front and two long legs that stick out in the back, and the damselfly has only six legs in the font of its body, also the damselfly as four wings that hang above its body .

The second invertebrates that somebody nicely let us take a photo with is some type of beetle, it has a six legs with a long narrow body and a pointy but also if you look closely you can see that the beetle might have two wings tucked in.
Problems
Some problems are that there are garbage and some items like chargers and clothes near the pond, I think that can be fix if Poco gets some works to clean it up once a week or people to volunteer and do it.
Conclusion about the pond
In conclusion I think the Oxbow pond is not that clean because the ph, nitrate, and hardness of the water was not in standards, but I think the pond is a fun place to catch bugs for science, just don’t swim in it.
Conclusion about the project
Over all I think the project was really enjoyable, because it’s fun to do school work outside instead of being cooped up in a class room. Also I had a lot of fun finding bugs and exploring in the woods. I recommend this project to future classes.
I believe that one day somebody will be able to make artificial gills when they can take oxygen, out of the water and flush the carbon dioxide out with the water, just like fish do with their gills. Scientists are trying to mock how real gills work. If scientists find a way to make artificial gills, humans will be able to breathe underwater without an oxygen tank.
I think Artificial gills will benefit humans because then divers could go underwater without relying on an oxygen tank. It will also help us learn more about the ocean because, we will have more time to explore. Artificial gills are lighter then oxygen tank, so it will make it easier to move and swim in the water.
First they got a hamster to use artificial gills and then a dog, after that the scientists got a human to swim underwater with artificial gills for 30 mins, if they can find a way to make the artificial gills last endlessly by making a gill that gives enough oxygen for a human, then yes It will be possible for humans to swim under water with artificial gills.

sources:
| (Le Page, Michael. “Oceans of air: why carry oxygen when you go diving when there’s plenty in the water all around you.” New Scientist, 7 Jan. 2006, p. 28+. Gale In Context: Science, https://link.gale.com/apps/doc/A141048631/GPS?u=43riss&sid=GPS&xid=9071c207. Accessed 6 Sept. 2019.
Carey, John. “Artificial Gills: One Big Stroke Closer to Reality.” BusinessWeek, no. 3981, Apr. 2006, p. 88. EBSCOhost, search.ebscohost.com/login.aspx?direct=true&db=buh&AN=20490483&site=ehost-live. SiOWfa14 Science in Our World: Certainty and Cont. (n.d.). Retrieved from https://sites.psu.edu/siowfa14/2014/09/17/will-humans-ever-be-able-to-breathe-underwater/ |
What questions did you need to research in order to research your topic?
I first needed research will artificial gills be possible. Then I researched how artificial gills work and then how fish gills work so I could write about what we need to do to make artificial gills work.
What new or familiar digital tools did you try to use as you worked through this project?
I used Gale Engage Learning for these two websites.
| (MLA 8th Edition)Le Page, Michael. “Oceans of air: why carry oxygen when you go diving when there’s plenty in the water all around you.” New Scientist, 7 Jan. 2006, p. 28+. Gale In Context: Science, https://link.gale.com/apps/doc/A141048631/GPS?u=43riss&sid=GPS&xid=9071c207. Accessed 6 Sept. 2019.
Carey, John. “Artificial Gills: One Big Stroke Closer to Reality.” BusinessWeek, no. 3981, Apr. 2006, p. 88. EBSCOhost, search.ebscohost.com/login.aspx?direct=true&db=buh&AN=20490483&site=ehost-live. |
I used youtube to find this video, and a picture because pexels and creative commons didn’t have pictures of artificial gills.
Youtube video I used for my project
I got the picture from this video
I also used safari for one more website I had for the Wonder project.
SiOWfa14 Science in Our World: Certainty and Cont. (n.d.). Retrieved from https://sites.psu.edu/siowfa14/2014/09/17/will-humans-ever-be-able-to-breathe-underwater/
What was the process you used to investigate the topic?
I first thought of a meaningful question, Then I went on gale engage learning and safari to find my websites. And then used Ms. Brandsma’s research template she gave us, to organize my website I used and my information I wrote down from the websites. After I turned the information into paragarphs.
How did you verify and cite the information you found?
I got my cites at the bottem of Gage Engage Learning. I also went to a citation machine for the website I got from safari.
How did the process of this challenge go? What could you hve done better?
The process of this challenge went pretty well, I just wish there was more information on my question. I think I could of done better on my introduction paragraph by explaining why I picked this question.