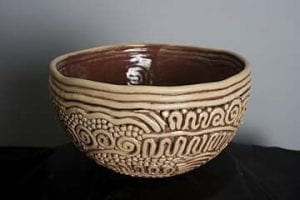
Coil Vessel Project :
Approximately 4 hours DUE: MONDAY/TUESDAY (bring it on your in-school day), March 15.
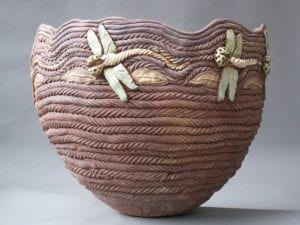
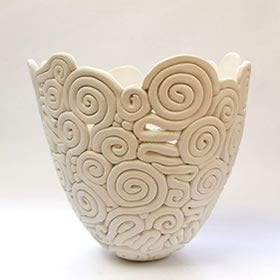
Now that you have practised making a variety of coil patterns you are asked to put them together to make a bowl or container-shaped piece. Here are a few examples of what your project might be made like:
To do this project you will need to get a bowl, platter, or pan from your kitchen or garden shed. Consider the FORM of your chosen vessel because your project will be molded into the same form- you have to like it! Pick something quite BIG – little doesn’t give you enough room to get creative in.
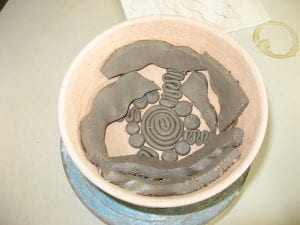
Once you have chosen the vessel that you will make your project in you should line the inside with a paper towel, kleenex, or newspaper. This is so that the clay will not stick to the vessel. (If it sticks to the paper we don’t care because the paper burns off in the kiln).
 oops! PAPER, NOT plastic!!!! my bad!
Now you begin to assemble coil patterns inside the vessel. BE SURE TO SCRATCH AND SLIP TOGETHER EVERY COIL THAT YOU ADD! (or the pieces will break apart when they dry – you don’t want that).
Build your pattern to be very beautiful and artful. Smooth the pieces as you add them – you want the bowl to be useful so it should be smooth. Be sure that all pieces are securely attached!
Next, FINISH the EDGE nicely. Notice how the following examples have finished the edge:
Lastly, carve your artist signature into the design somewhere.
Wrap up your project and KEEP IT WET! Bring it to school wet so that if it gets damaged in transport you can repair it (If its dry and it breaks it can’t be fixed)

