How To 3D Print
We have access to many 3D printers including all those in the MakerSpace. MakerSpace orientation MUST BE completed before working in there.
FUSION 360
GO TO UTILITIES in the ribbon menu, select “MAKE” and choose “3D PRINT.”
FROM THE 3D PRINT POP UP MENU, click SELECTION and pick the BODY (component or the whole thing) you want to print and change the file type to “STL.” You will take this file to Flash Print 5 to slice it for the 3D printer.
How to Use FlashPrint 5?
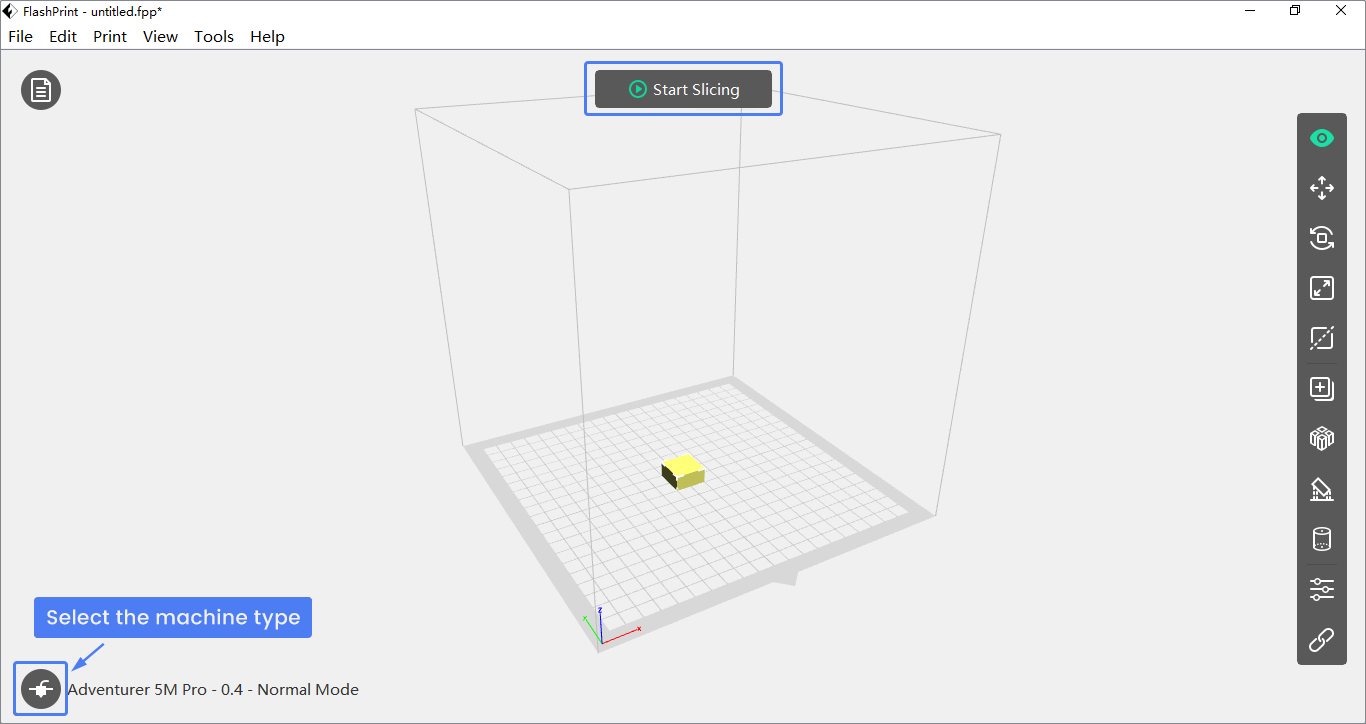
When using FlashPrint 5 for the first time, simply select the corresponding printer type to quickly access the software.

You can quickly find the sample models in STL format we have prepared for you via [File] – [Examples]; for example, a small cube is shown below.

If you want to quickly slice a model in STL format into a format recognizable by the printer, first ensure the printer type at the bottom left of the interface is correct (if incorrect, click [Machine Type] at the bottom left to choose the right one), click [Start Slicing] and then select the nozzle size and material type for rapid slicing.


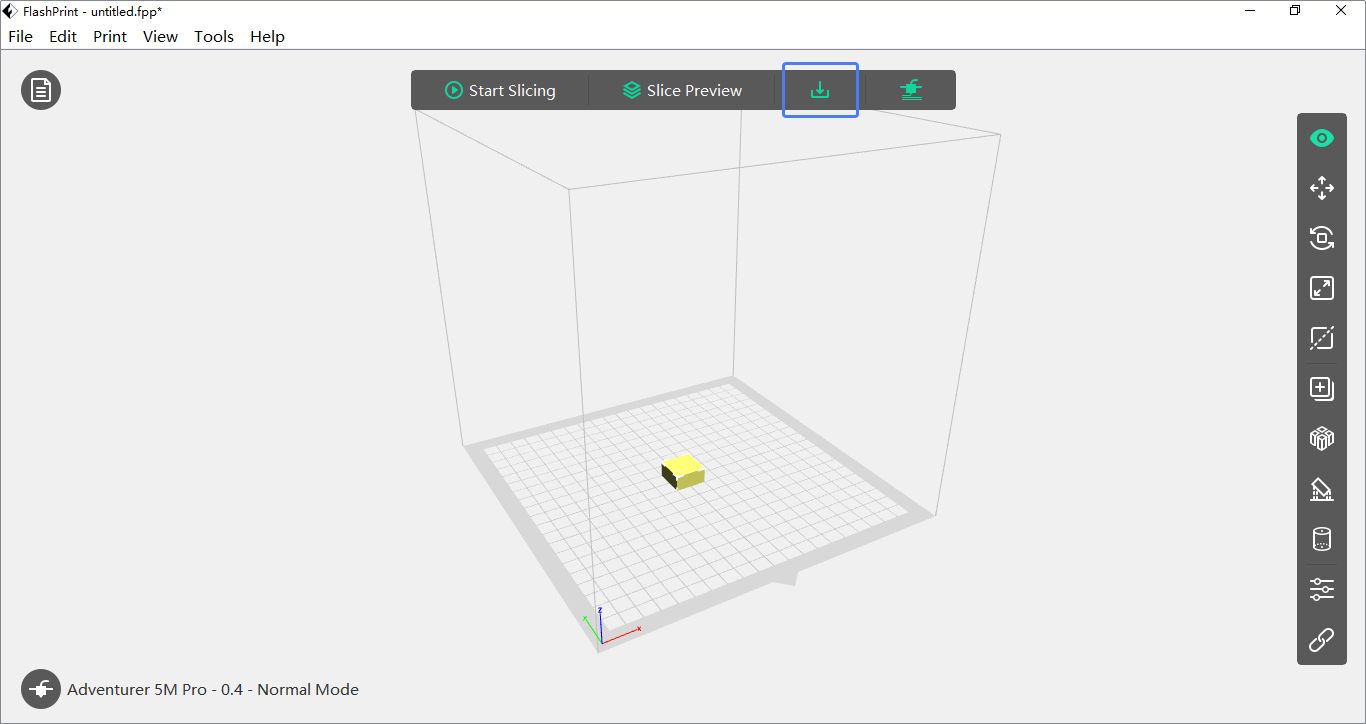
After finishing slicing export the model to a USB
1. Export the model to a USB flash drive and plug it into the printer’s USB port for direct printing.
