
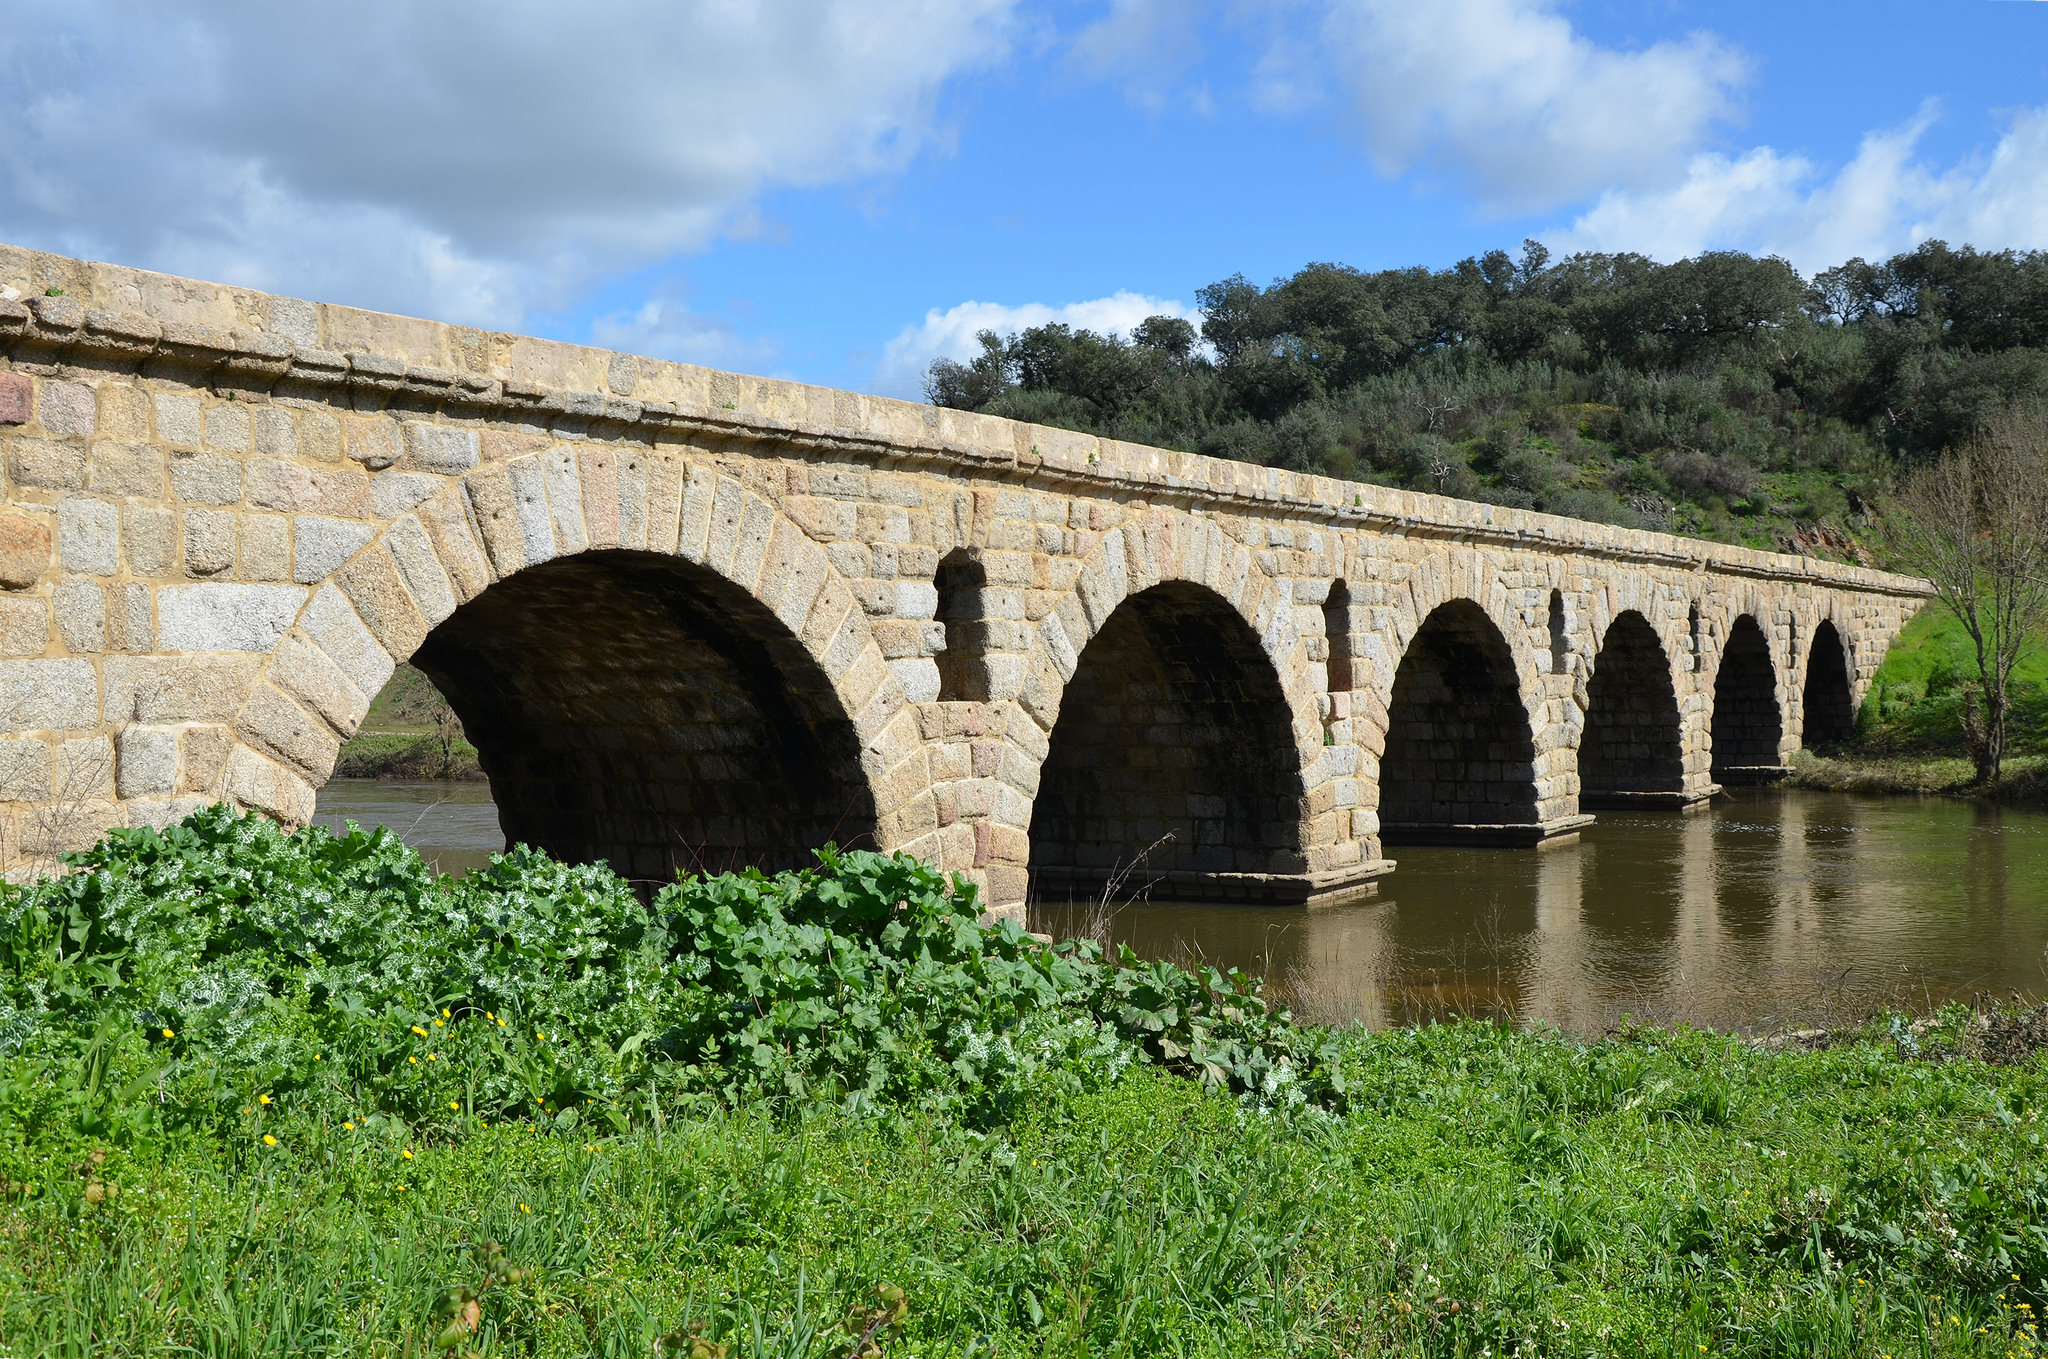
History of the Arch Bridge
An arch bridge is a semicircular structure that distributes its weight by dispersing it outwards through arches onto its two abutments, rather than straight down a column or pillar. Arch bridges have been around for about 3,000 years. The oldest arch bridges can be found in Mycenaean Greece but it was the Romans who were to fully realize the potential of arches for bridge construction. An arch bridge built of stone does not require mortar. This may be one of the reasons why arch bridges were invented as there was no mortar until it was invented later on. Also, there were no advanced materials such as steel and building arch bridges out of stone was common.
The implications of arch bridges being built was the ability to create aqueducts that could bring water to cities and to create roads and bridges that could be used to transport goods and people more easily. The Romans built many arch bridges throughout Europe, Asia, and North Africa which greatly benefited them in creating and maintaining their empire.
Physics Involved

The abutments prevent the footers from pushing outwards. The keystone sides must be sloped to allow the keystone to slide down, pushing outward. The force of gravity is distributed from the key stone throughout the bridge, locking everything together.
If we assume that the mass of a bridge is 200kg we can find the force of gravity acting on that bridge.
Fg=mg
Fg=(200)(9.81)
Fg=1.96x 10^3N
In Newtons Third Law we learned that for each action there is an equal and opposite reaction. In this case with the bridge, the force of gravity (Fg) is pushing down from the key stone to the abutments. The ground pushes back on the abutments creating normal force (Fn) which is equal and opposite to the force of gravity. This creates a resistance which is passed from stone to stone. It eventually pushes on the key stone which is supporting the load. Arch bridges are always under compression. In physics 11 we haven’t covered much compression or tension but basically the force of compression is pushed outwards from the key stone along the curve of the arch to the abutments. The curve of the arch and its ability to dissipate the force outward reduces the effects of tension underneath the arch. The greater the degree of curvature (the larger the semicircle of the arch), the greater the effects of tension on the underside.
If a horse and carriage were to cross such a bridge, they would exert their force of gravity through the bridge (key stone down to the abutments) and the normal force would push back, holding the bridge together. This makes the bridge secure and efficient for crossing bodies of water, valleys, etc.
Design and Building Process
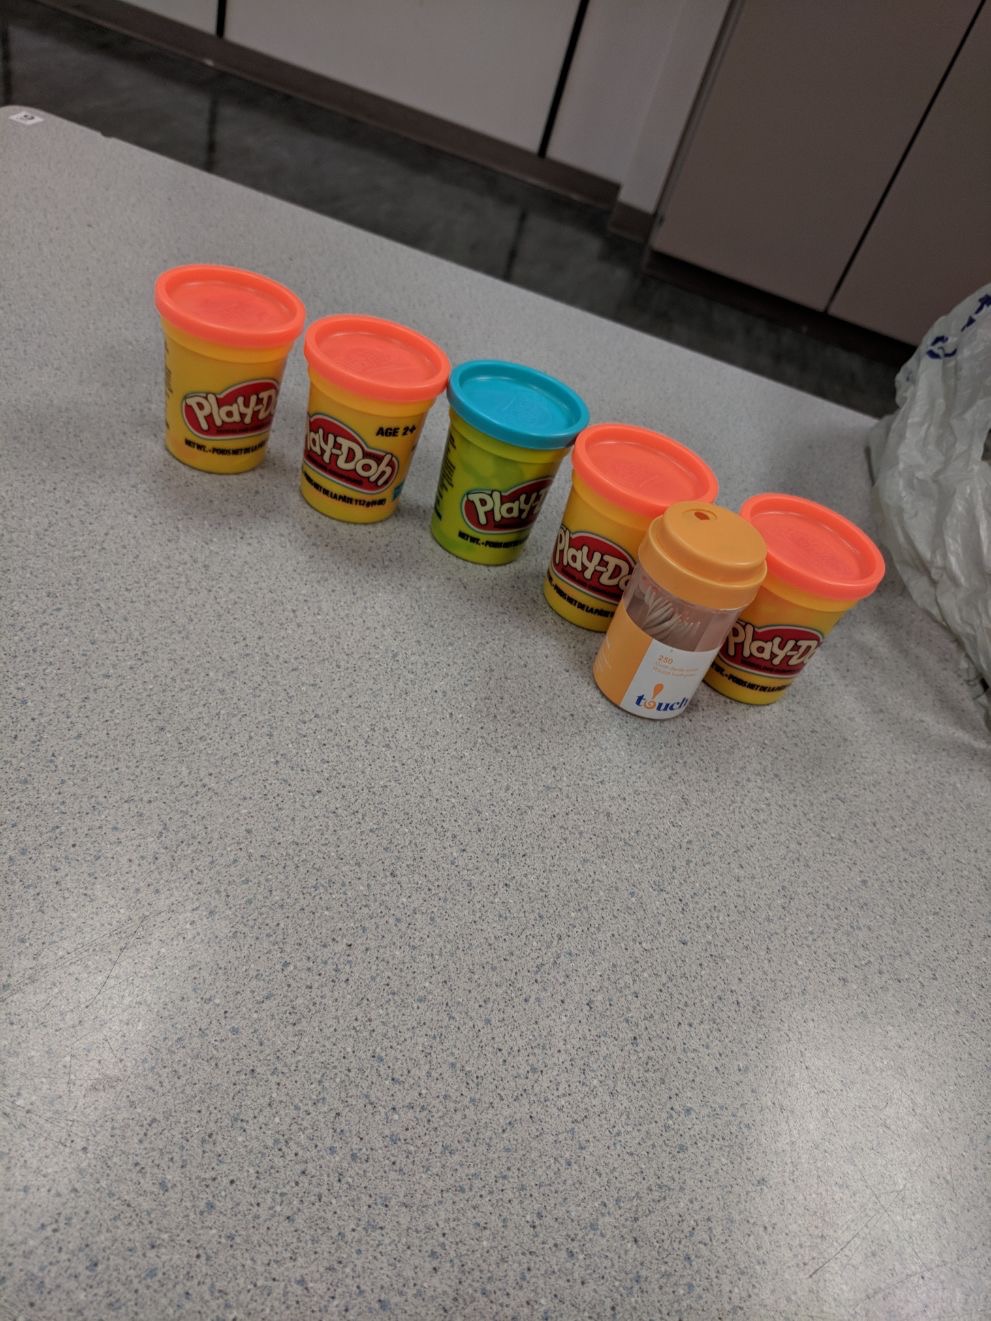
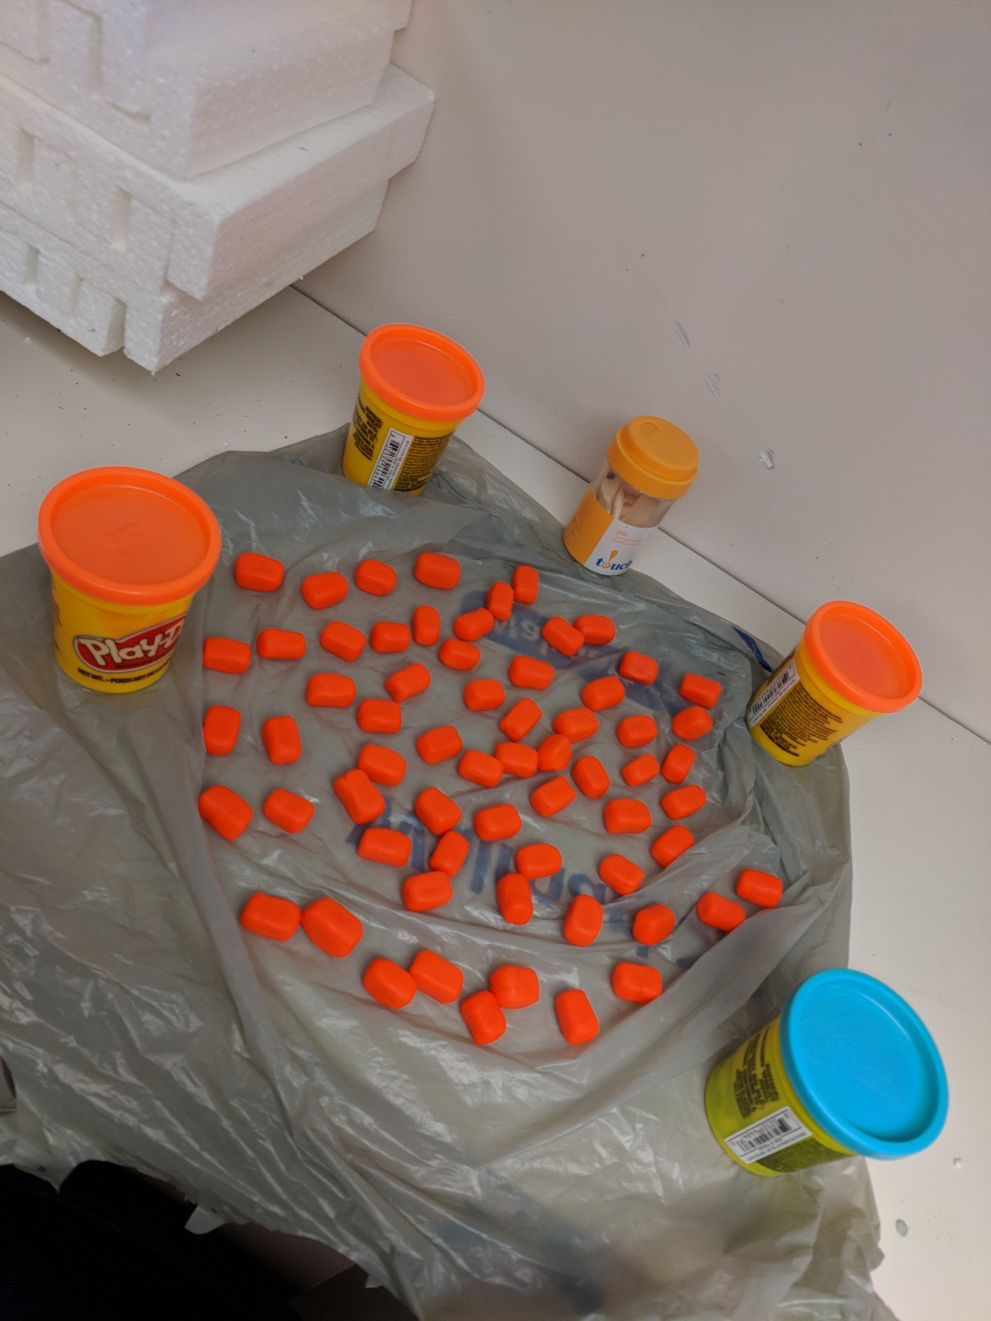
On day one we started out with 4 orange tubs of play do, 1 blue tub, and a container of toothpicks. We spent the class making “bricks/stones” as that is what shape was common for creating arch bridges. A difficulty we encountered was trying to make them all the same size and shape as one another.
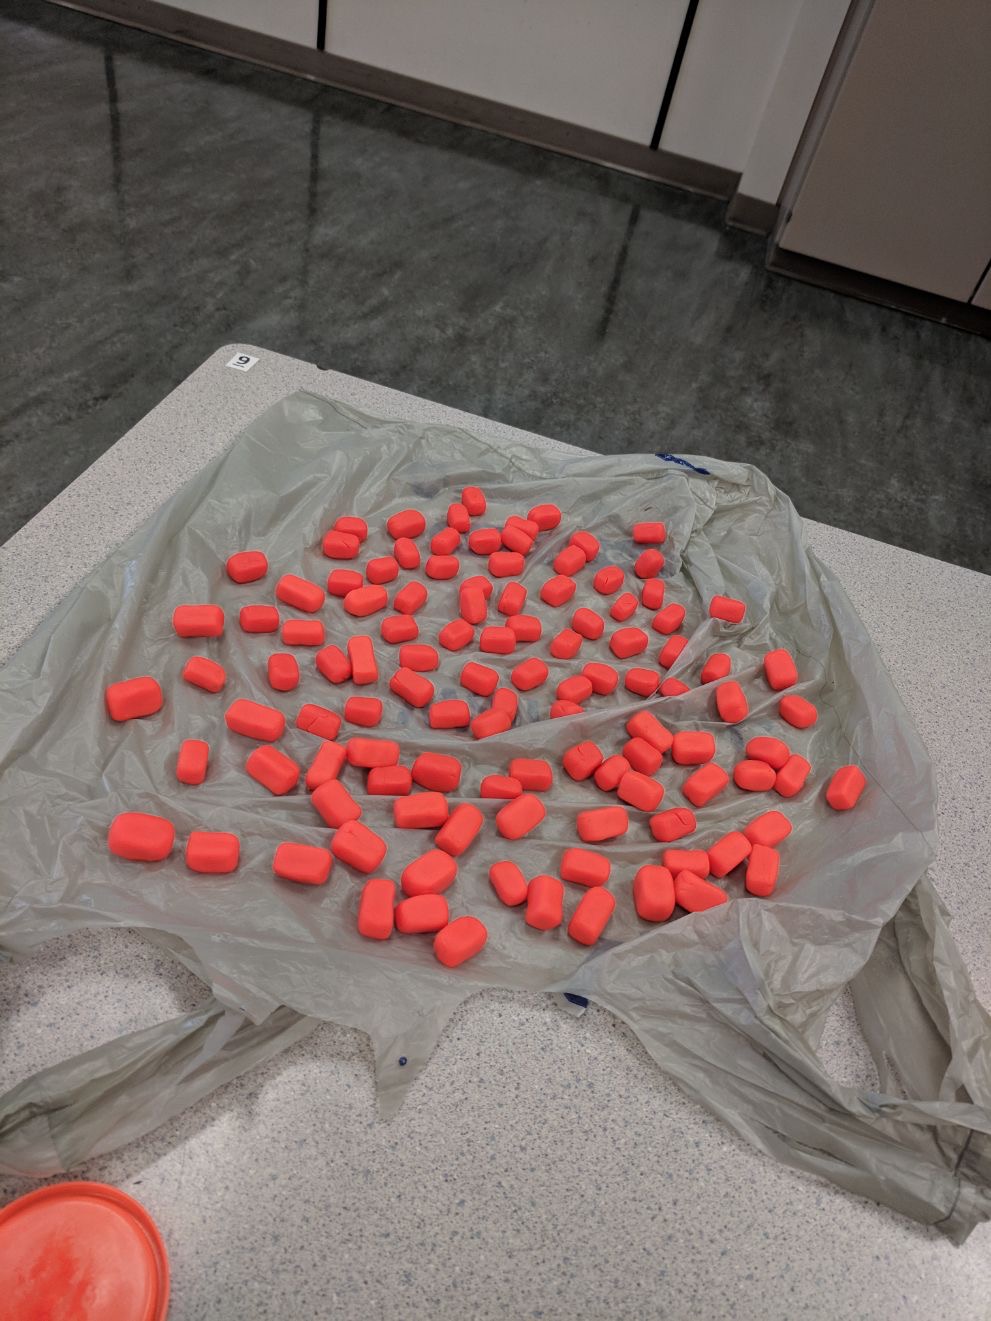

Thursday we continued molding our play do into bricks. Friday we made our first attempt at building the bridge with the amount we had and we realized it was quite difficult to stack the play do bricks. We ended up using the toothpicks, placing 5 play do bricks on each toothpick and then tried making the bridge again. We didn’t have enough however to make much of the bridge other than the abutments so we planned to buy more play do and toothpicks over the weekend.
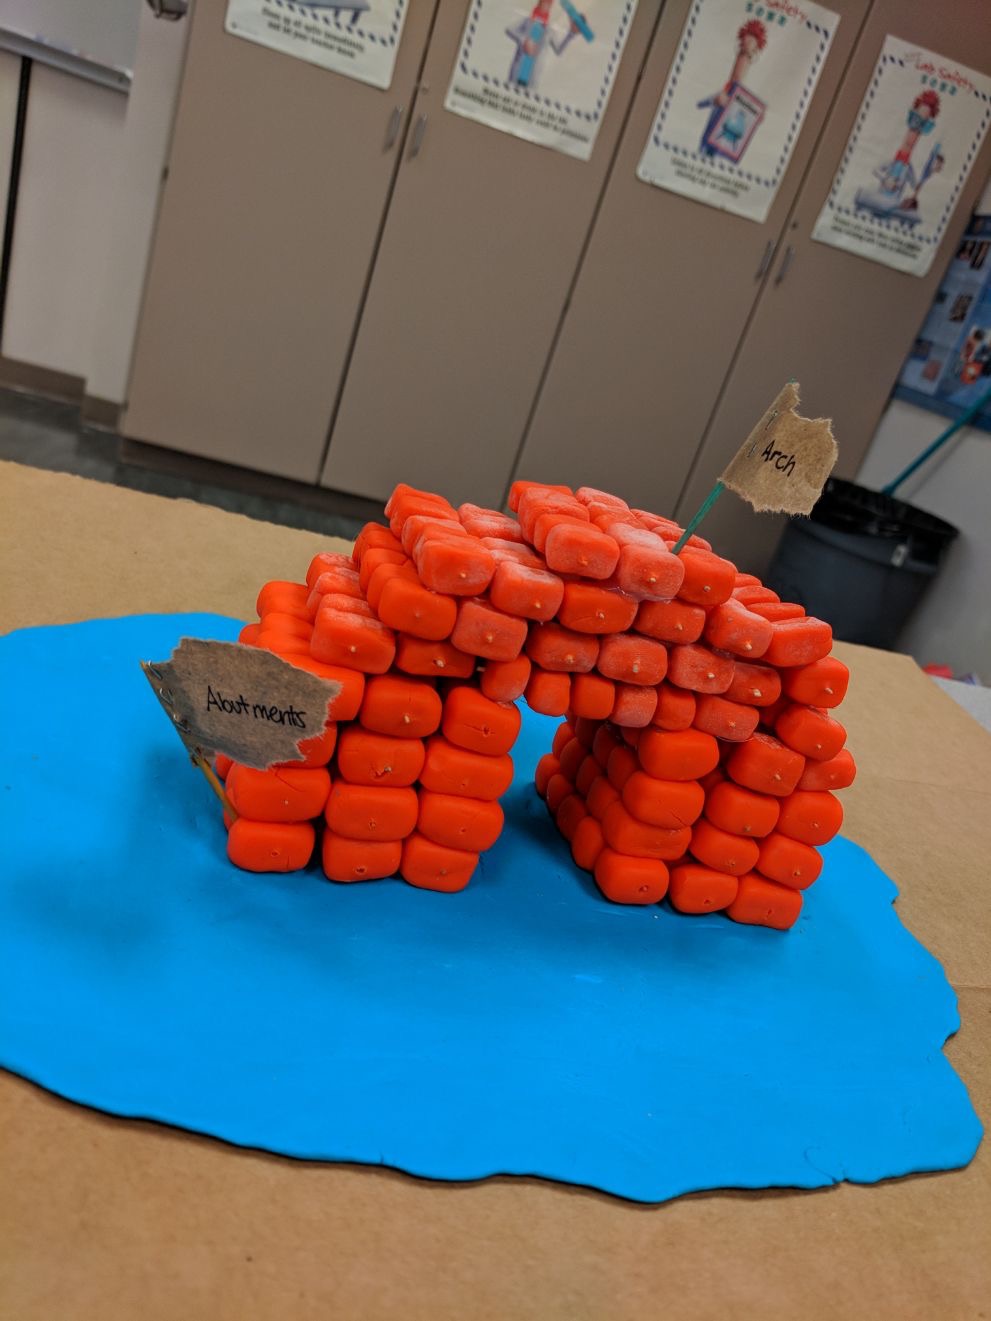
Over the weekend we got 3 more tubs of orange play do and 2 more tubs of blue play do. We made some more bricks and flattened out the blue play do to make “water” underneath the bridge. We used the fresh play do for the abutments so they would stick better and be a sturdier base and started stacking the dried out play do on top. I thought of rolling up a piece of paper as the frame of the arch while we tried to balance the bricks and put a key stone in but it was quite difficult. We tried many times to stack, balance, and place the bricks the way these bridges were made but I believe we chose a poor material to make the bridge out of and that this affected our construction of the project. We ended up laying the bricks across the opposite way to make the “arch” and it looked like more of a doorway shape than an arch.
If I were to re create this project I may have used stones, wood, or another material to make the finished product more accurate to what arch bridges look like. Also, we should have prepared better by researching the history of the arch bridge first to get a better understanding of how they were constructed and the key steps to creating one. Nevertheless, I now have a better understanding of this invention and why they were efficient/stable ways of transport. I also gained knowledge of the physics involved in the arch bridge, although it took a lot of research, I now realize that it relates back to previous concepts in this course. This project helped me apply my learning to a real life invention involving physics and reminded me that physics is everywhere, you just have to think about it!
Resources
https://science.howstuffworks.com/engineering/civil/bridge5.htm
https://www.britannica.com/technology/bridge-engineering/Roman-arch-bridges
http://www.historyofbridges.com/facts-about-bridges/arch-bridges/
https://engineeringrome.wikispaces.com/A+look+into+the+longevity+of+Roman+Engineering
http://www.warwickallen.com/bridges/ArchBridges.htm