Part Two: History
Where was it invented: The arch bridge was invented in the piers, in the Pons Fabricius in Rome (It is still standing)
Who invented it: Basically, the ancient Romans invented the arch but they originally learned the “arch” from the Etruscans and then just changed it up, refined it and were the first builders of the arch bridge. They were the first in the world to really appreciate all the advantages of this invention.
When was it invented: The first arch bridge was built in the Pons Fabricius in Rome in 62 BC and it is one of the worlds oldest major bridges still standing.
Why was it invented: It was invented for many reasons and it is a smart invention too because the curved design of the arch, does not push load forces straight down and they are conveyed along the curve of the arch to the supports on each end. The ends carry the load of the bridge and hold the arch in place. Also the natural curve of the arch and the ability for it to push the force outwards, reduces the tension on the underside of the actual arch. The arch has both horizontal and vertical forces.
Was it invented simultaneously by different people in different locations: No, arches were previously known by the ancient Greeks and Etruscans but the Romans were the first to actually put it in place and build the arch bridge in Rome.
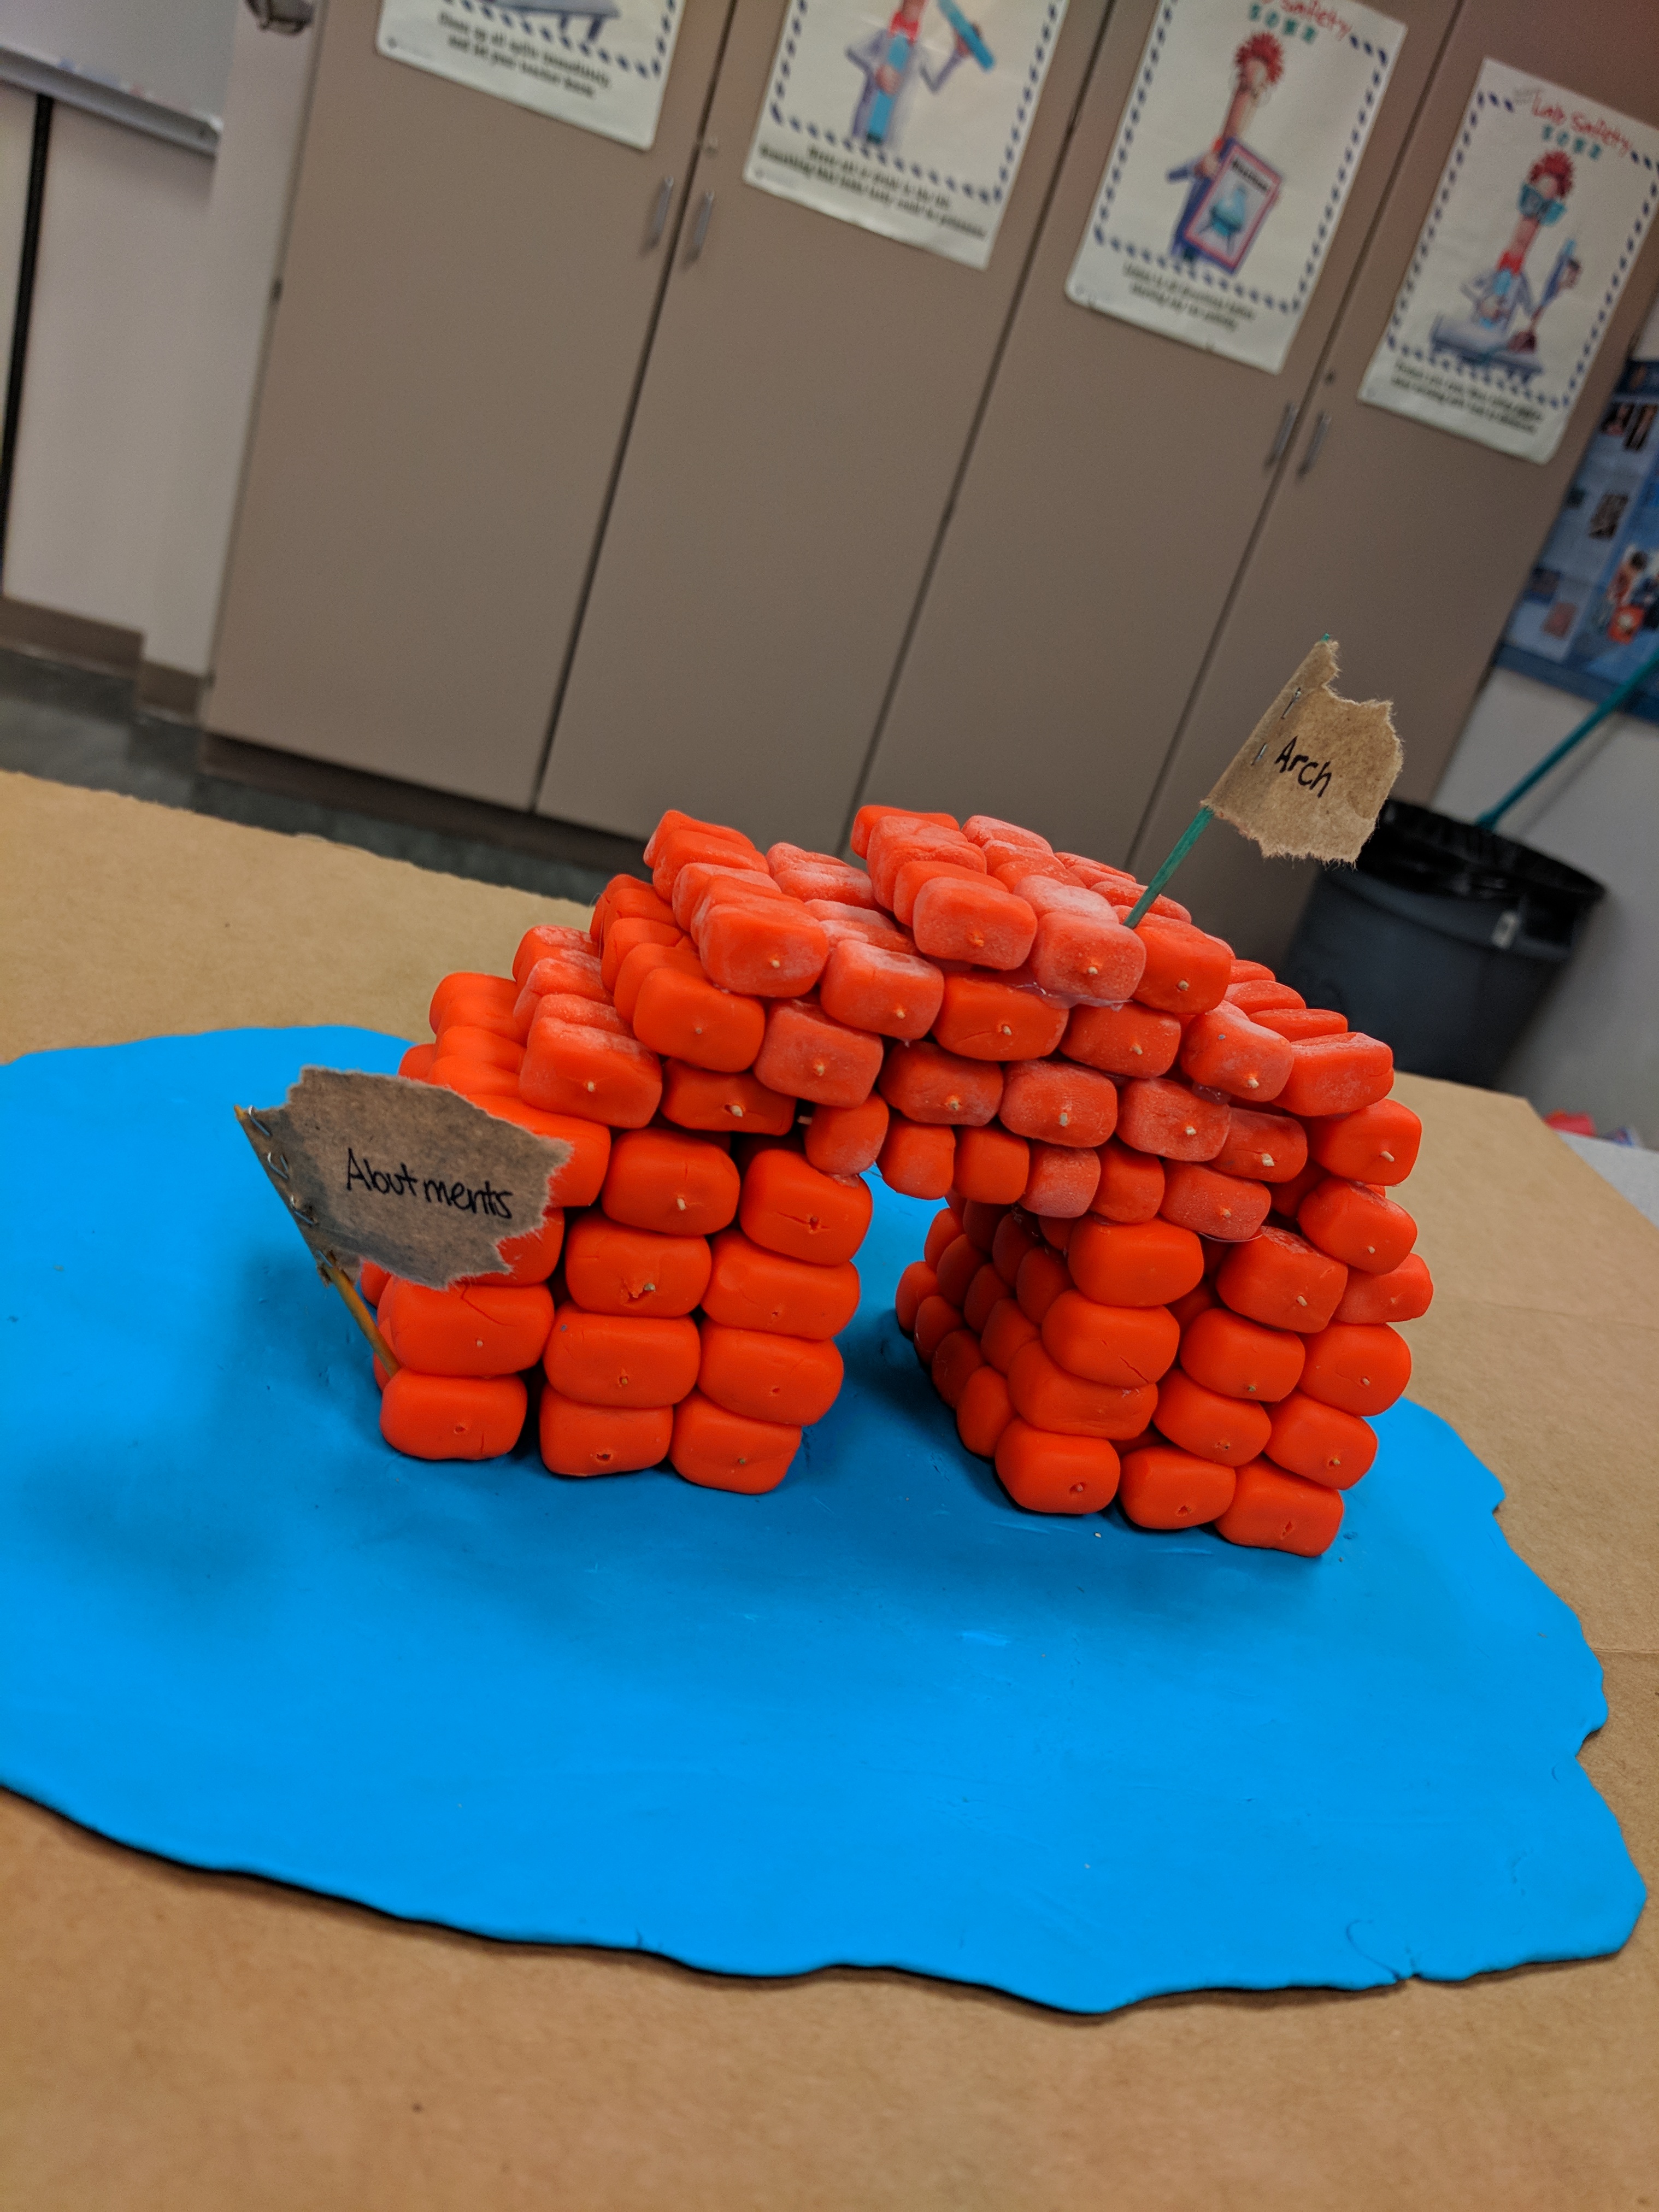
What were the short term and long term implications of this invention: The keystone, it is the idea of making each stone on the arch of the bridge press on to the one next to it. The semicircle (arch) diverts the weight from the deck of the bridge to the abutments (the ends).
Part Three: Description of the Physics Involved in Your Machine:
Detailed description of the physics involved in your machine: The main thing we found is that for every action, there is an equal and opposite reaction, so Newtons 3rd Law. Basically, the ground, pushes back on the abutments of the bridge. An abutment is the structure built to support the pressure of the arch of the bridge. So the abutment resists the push from the ground and just creates a resistance that passes on from brick to brick (or stone to stone), however the bridge is built. And it keeps passing on from brick to brick until it is pushing on the keystone (wedge-shaped stone piece at the arch, it locks all the stones into position). Then the keystone just simple supports the load.
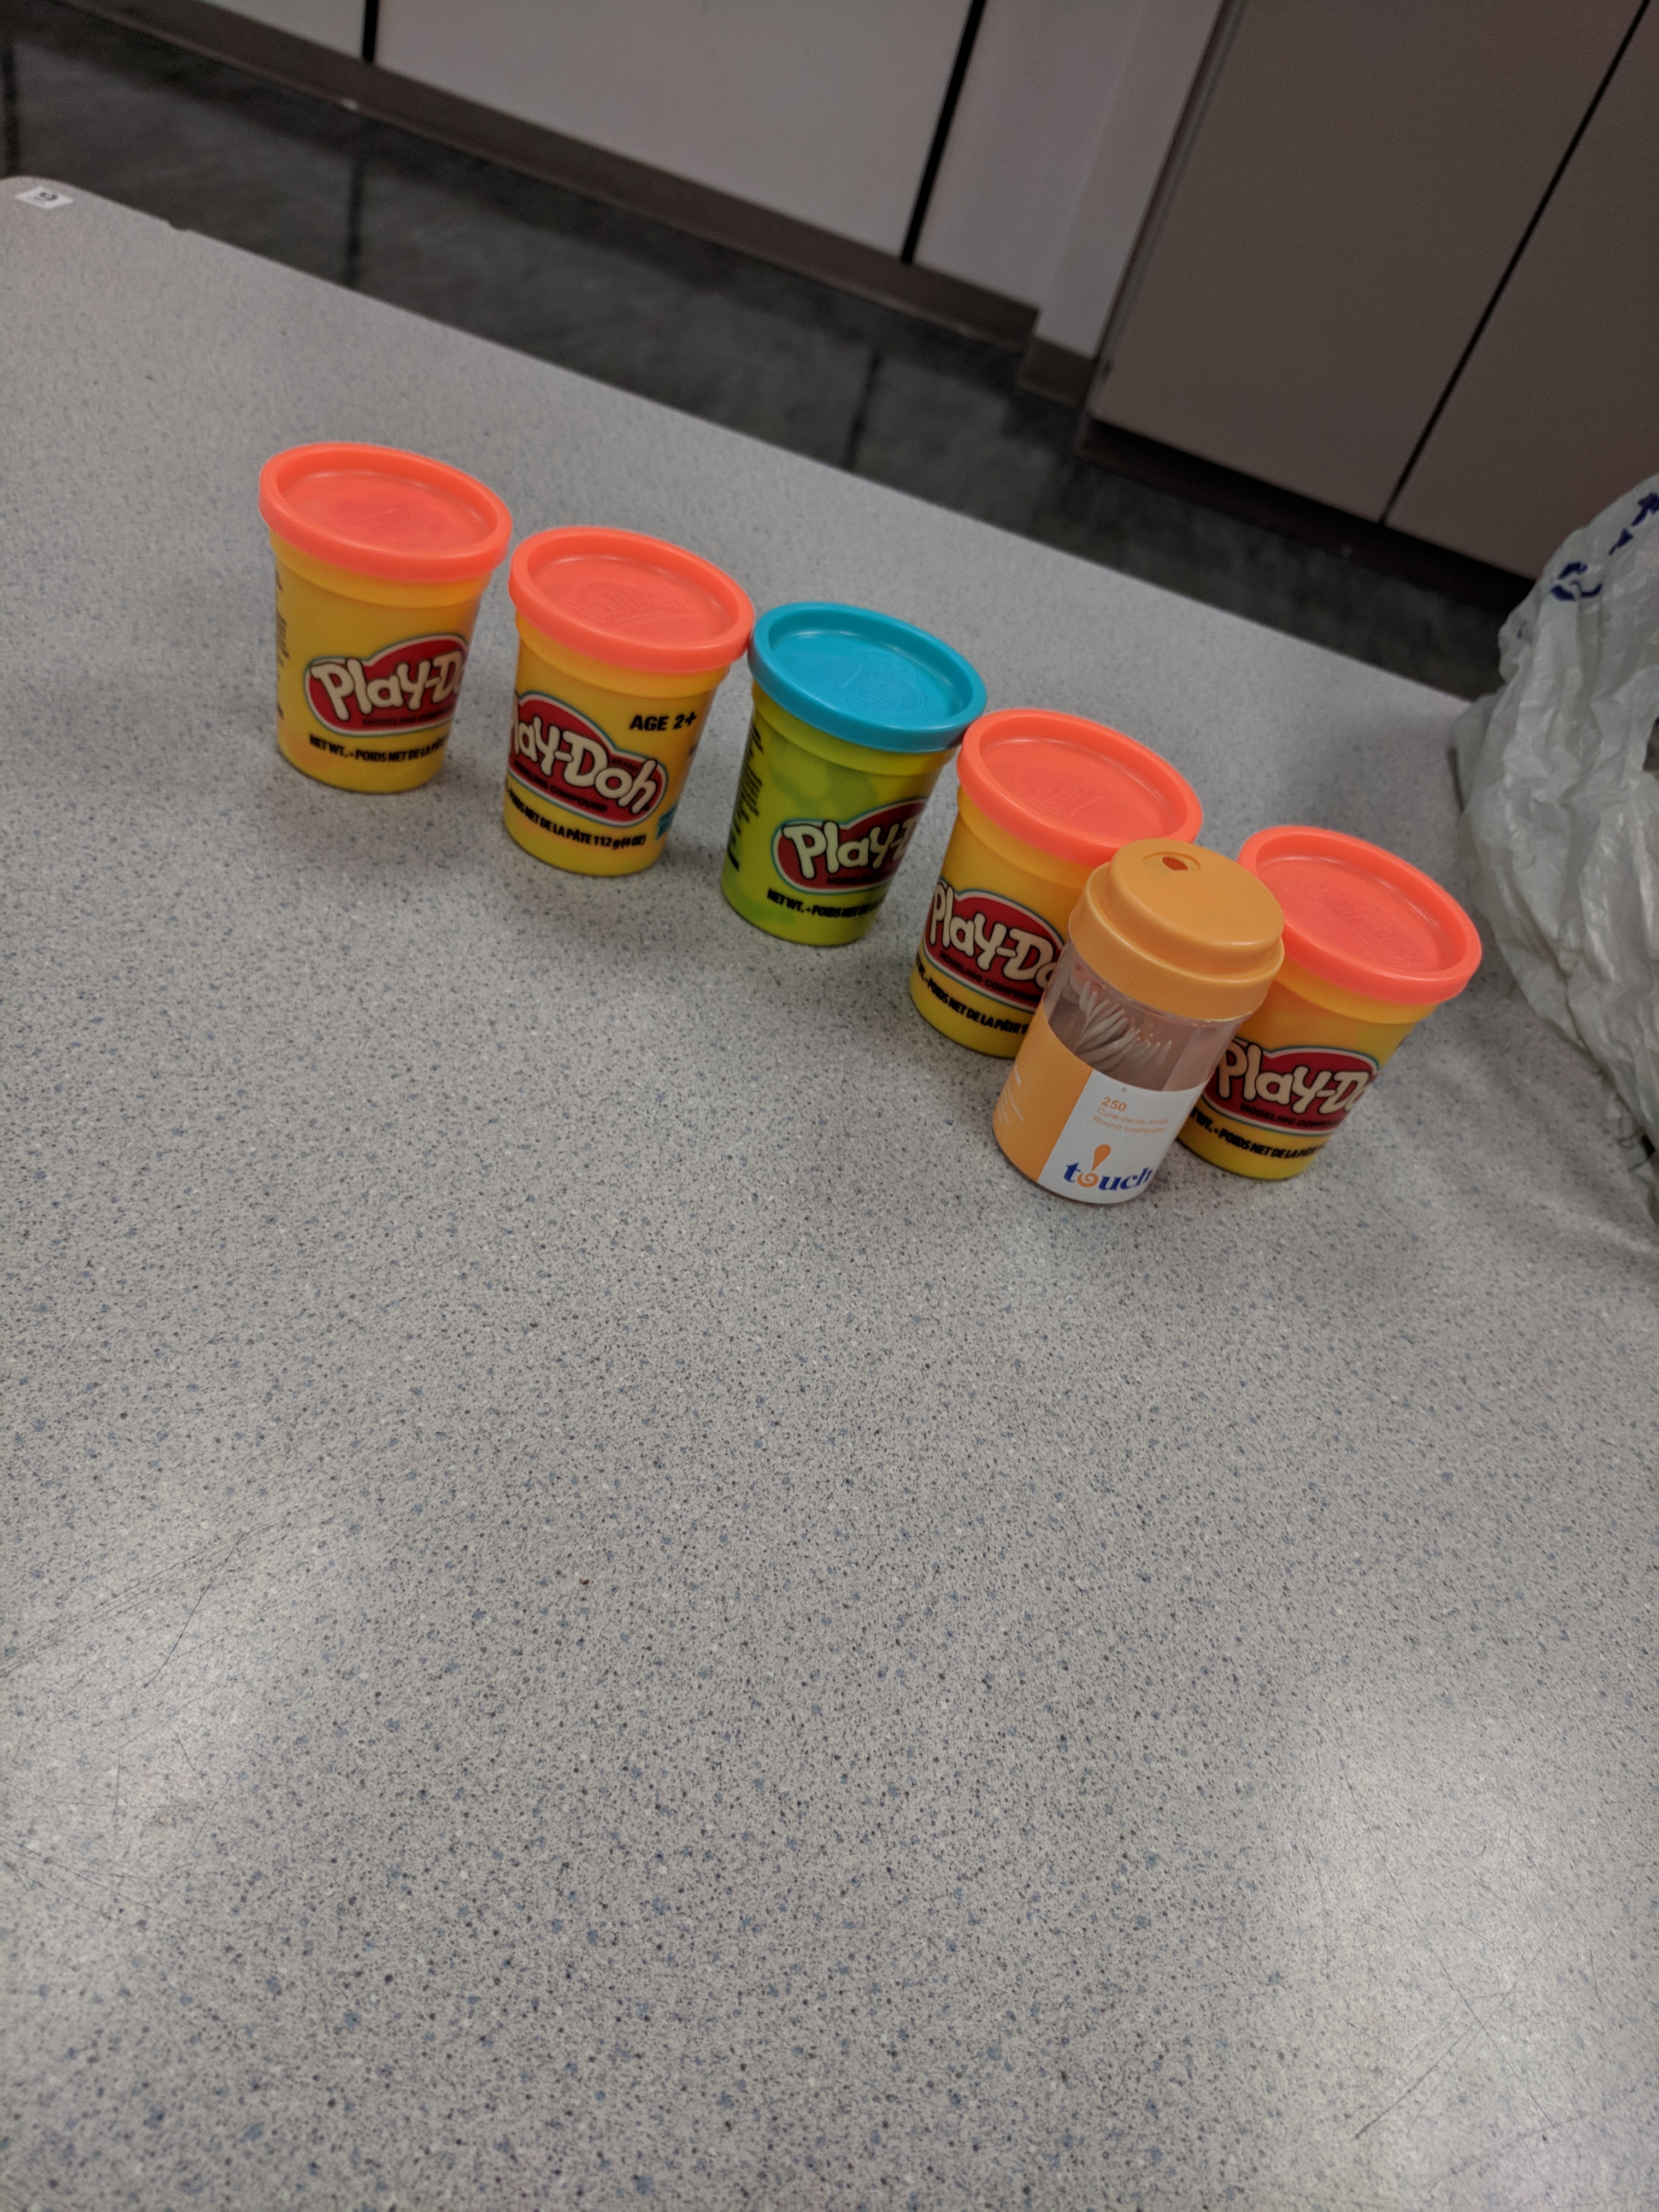
Mathematical examples are used to help explain how your machine works: In our case, it was a little hard to find the efficiency of the bridge because finding the work in/work out seemed impossible to us so instead we compromised and tried finding the potential energy of the bridge instead. The formula to find potential energy is (m x g x h), and we know that g is equal to 9.81 and when we measured our height, it came out to be 9.7cm tall, now our only problem was calculating the mass of our bridge. We did not have a scale so we had to take our common sense and apply it to this situation. We know that it is the shape of the bridge that gives it it’s strength …so in one container of playdough, there are 5 ounces, which is 141.74762 grams. That is equal to 0.14174762 kilograms, and if we went through 5 containers of playdough that would equal 0.7087381 kg of playdough in total. Then we have to divide it by 9.81 to find mg, so the mass would equal 0.072246493374. Now that we have the mass of our bridge, we can calculate the potential energy… (0.072246493374 x 9.81 x 0.097) = 0.0687475957, which becomes 7.10 x 10^-2 J of Potential Energy.
Part Four: Design And Building Process
Through Pictures, Video and Text, describe how you and your group designed and built your machine step by step: Zoë and I took pictures of our daily progress but we didn’t get any videos so here is a step-by-step of our project:
We started off with 3 tubs of playdough (and ended up having to buy 2 more because we didn’t have enough). For the first 3 days, we just spent the class, discussing our ideas for the project while building brick-like figures out of the playdough, it took us way longer than we expected because we wanted to perfect the bricks and make sure they were all one size. Then when we realized we were running out of time we started multitasking. On the Thursday, we would make more bricks and also take the toothpicks that we brought as well and to help make building the bridge easier, we started sticking 5 bricks into each toothpick. After we finished doing that, we left the brick “kebobs” to dry in the class over the weekend and we expected to come into class on Monday and start putting them together. On Monday, we came in, took all of the sticks and then took the 3 tubs of blue playdough we had and we started flattening it to make it look like water, so our bridge could go over it. Then we started laying out the bricks on the water and superglued them together. Honestly, the bridge came out looking better than we both expected.


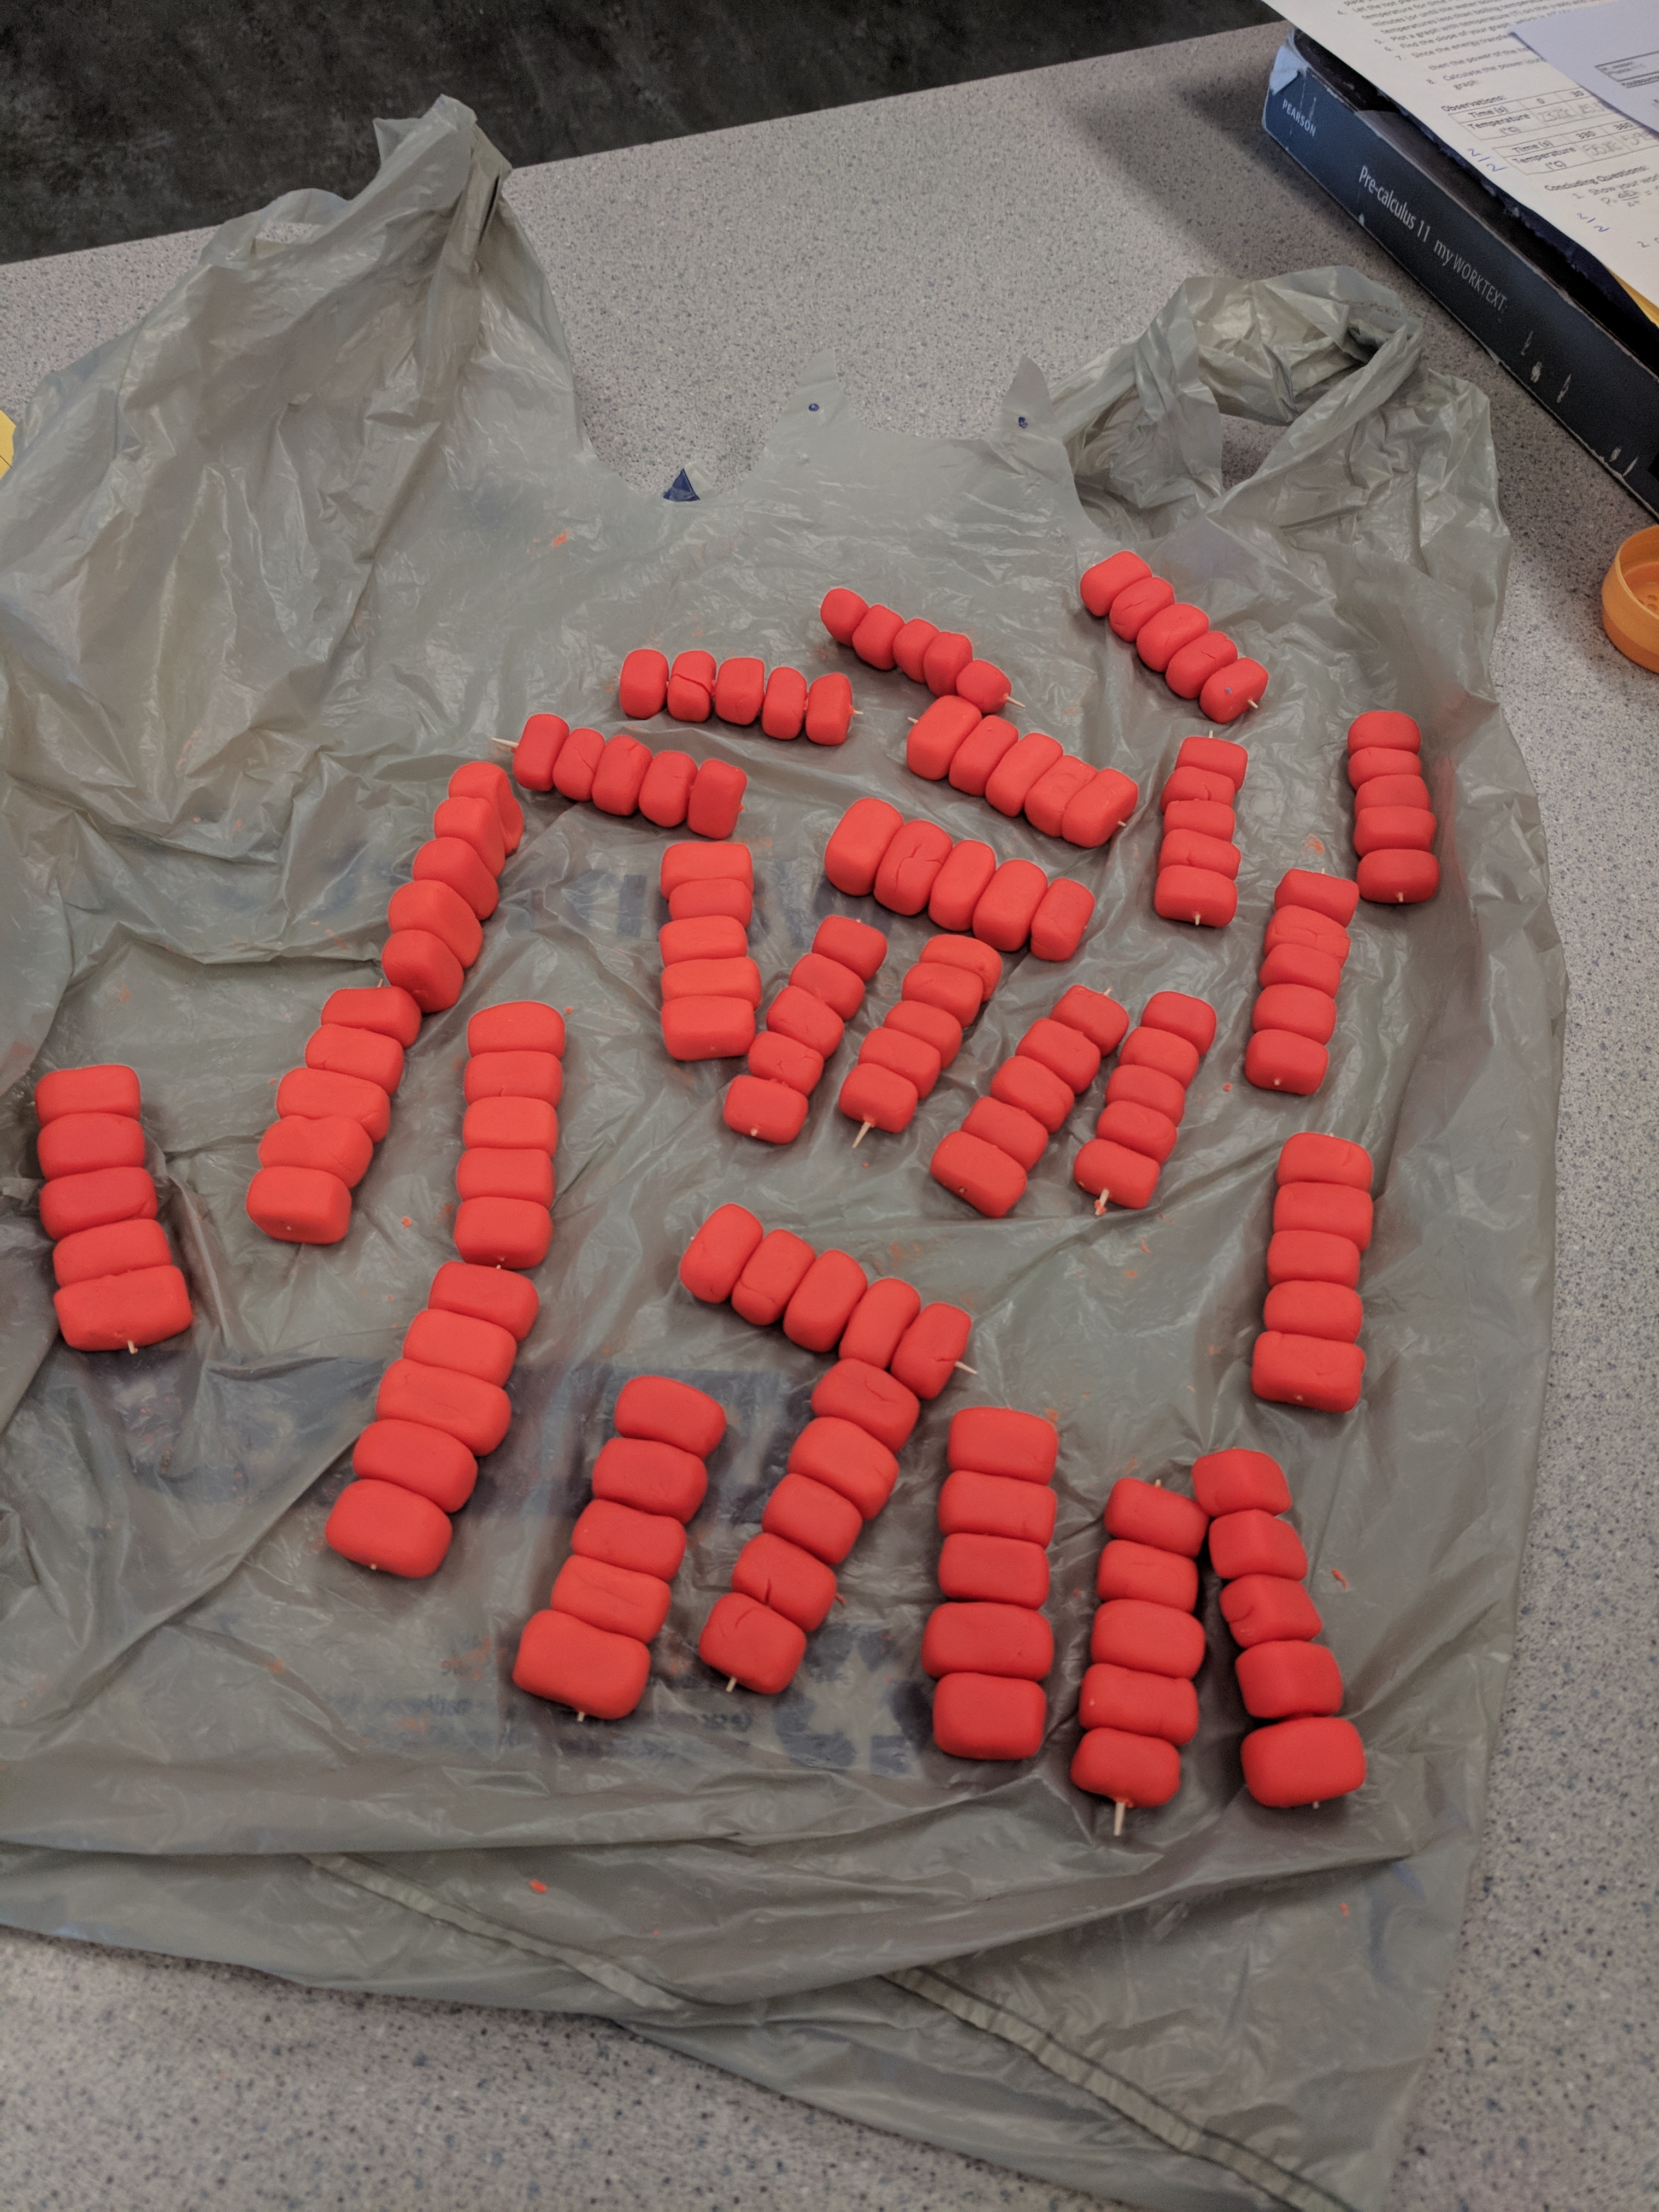
Here you should discuss your day to day progress as well as challenges and successes met throughout the building process: We struggled a lot throughout our project. Our first struggle was the process of making the playdough stick to each other, because we had built the bricks over 5 days, the “freshness” of the dough would soon become old before we started putting it together. So that is when we decided to stick the bricks into toothpicks to help hold a bunch of them together. Our second struggle was trying to figure out how to form the bridge, when we figured that out, we didn’t know how to hold it in place, we tried to build a keystone but because the playdough had already dried, that wasn’t an option anymore so then we had to go to our last resort, which was hot glue guns, you can’t tell by looking at it that we glued it together but at least it holds our bridge in place now. Our last struggle was the mathematical part of our project, since we were the only group building a bridge, we didn’t know who to ask for help, at the time, it seemed pretty impossible to find the efficiency of the arch bridge so instead we tried the next best thing, finding the potential energy. But we couldn’t find the mass either so we had to use hypothetical theories and make a pretty accurate estimate. Looking back, we probably should’ve picked an easier invention that was more related to physics but I’m glad we did the bridge, it was a challenge but we learned a lot from it.
Part Five: References:
https://en.wikipedia.org/wiki/Arch_bridge
http://www.historyofbridges.com/facts-about-bridges/arch-bridges/
http://engineeringforkids.com/article/05-25-2016_Arch-Bridge-Facts
https://science.howstuffworks.com/engineering/civil/bridge5.htm